Menu
Close

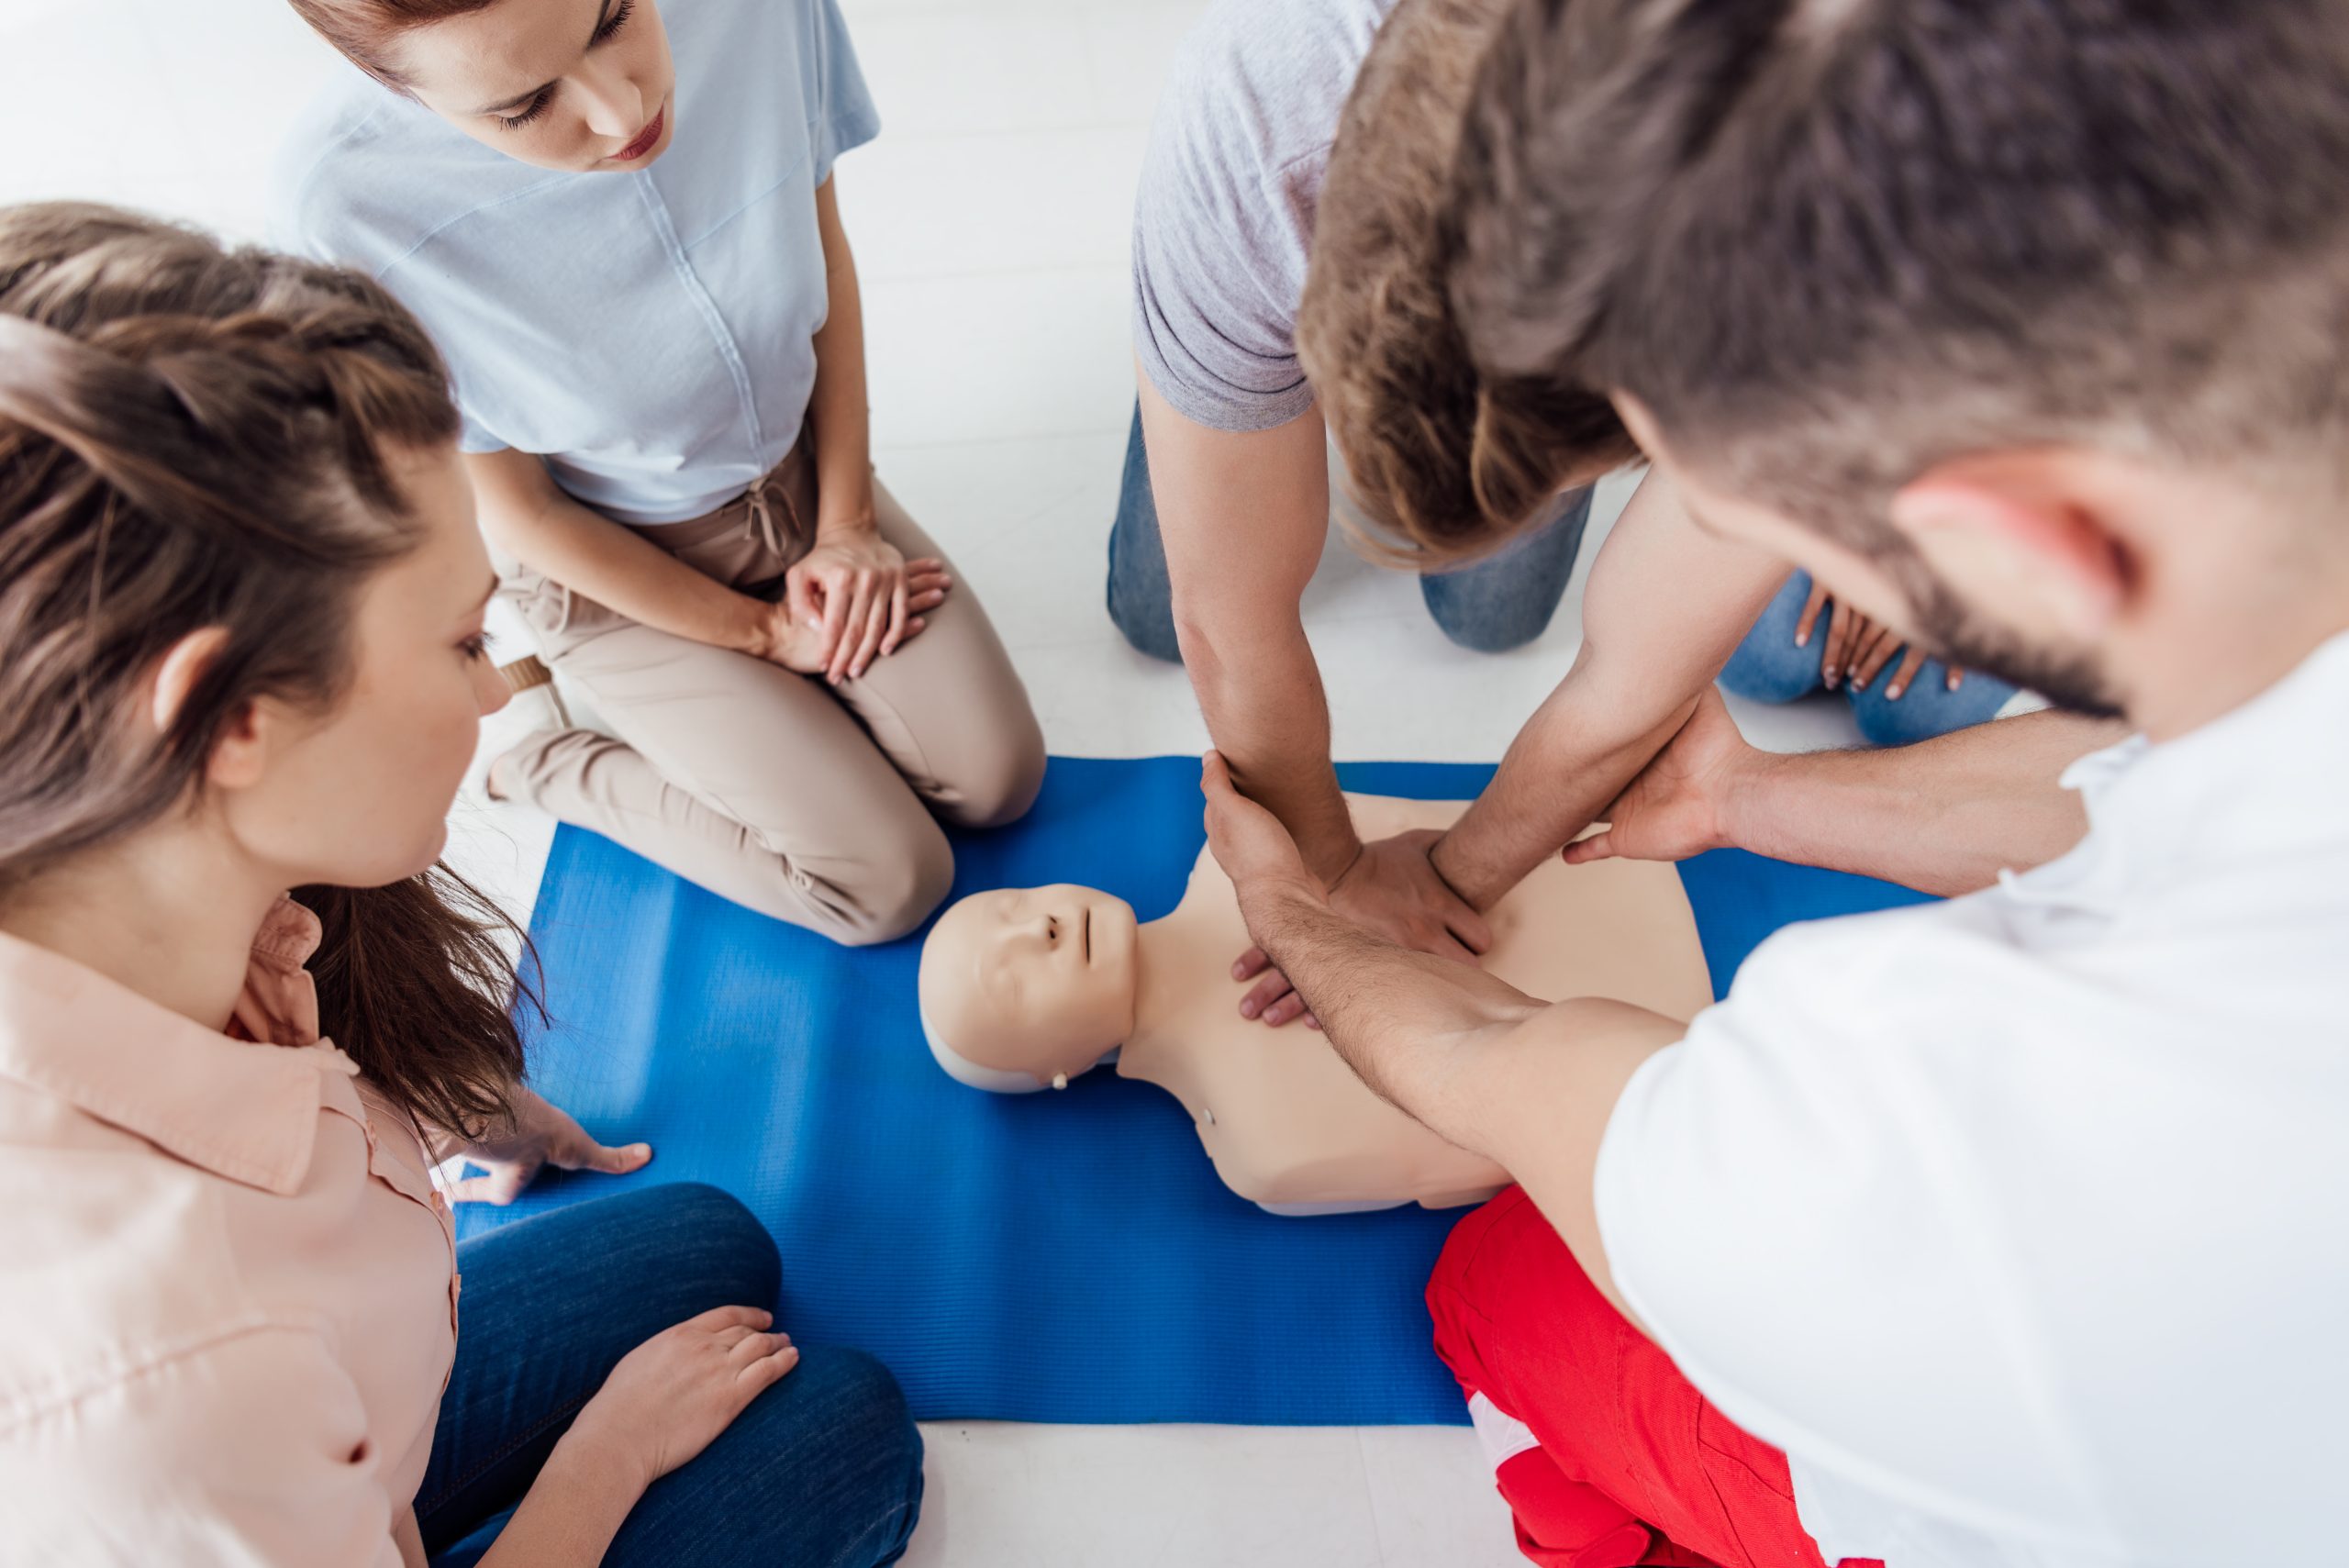
Every first aid instructor and training agency manager reaches a moment where a torso looks worn, a chest clicker stops sounding, or a face skin retains stubborn marks. Managing gear budgets requires balancing equipment lifespan against student satisfaction and training standards. You want to stretch your dollar without compromising class quality or health safety.
Knowing when to repair a torso and when to retire it completely keeps your operation running efficiently. In this guide, we break down lifespan expectations, physical warning signs, compliance rules, and smartest part replacement strategies.
How long do CPR manikins last in active training environments? Most professional-grade torsos deliver between 3 and 10 years of reliable service. High-volume training centers that run daily certifications may see heavy wear around year 3 or 4, with high-volume facilities averaging 3 to 5 years of use under daily compressions. Smaller training setups or independent instructors running weekly or periodic courses often maintain their equipment for 5 to 8 years, or even up to 10 years.
The difference comes down to material quality, total compression counts, and physical maintenance. Premium torsos constructed from resilient vinyl and reinforced polycarbonates handle aggressive chest compressions better than entry-level budget models.
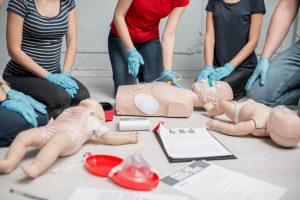
Several everyday variables speed up equipment breakdown. Understanding these factors helps you plan maintenance before gear fails during a live class:
Before deciding to dispose of a torso, inspect whether the problem is cosmetic, mechanical, or structural. Many issues that look severe on the surface take only minutes to fix with basic replacement parts. Inspecting torsos regularly allows you to identify minor component wear before it causes classroom failure.
Surface wear rarely means a torso belongs in the trash. You can swap out high-wear items quickly at a fraction of the cost of a new unit:
Some damage compromises structural integrity or safety. Retire the manikin immediately if you observe any of the following conditions:
Regular maintenance is the most effective way to stretch your equipment budget. Servicing your fleet prevents small mechanical defects from growing into costly failures during student evaluation sessions. Sourcing genuine replacement components restores proper compression response and keeps classes running.
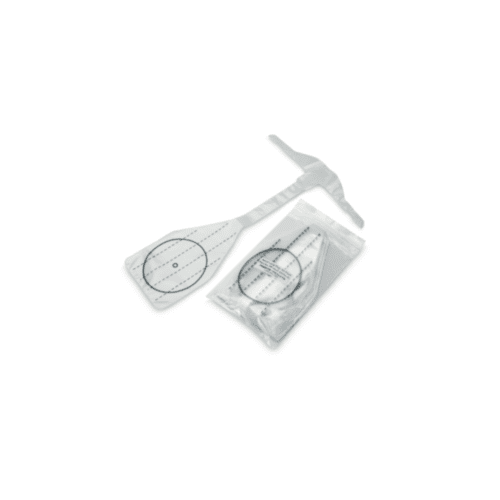
Hygiene drives student confidence. A dirty torso makes students hesitant during ventilations and compression practice:
When chest movement feels soft or uneven, internal components are usually worn out. For example, installing fresh Laerdal Little Anne repair parts like a new chest plate assembly corrects compression resistance and restores realistic recoil without forcing you to purchase an entirely new torso.
Equipment longevity is not just about physical durability; it is also about regulatory compliance. Even a structurally sound torso must be retired or upgraded if it no longer meets provincial or national instruction standards.
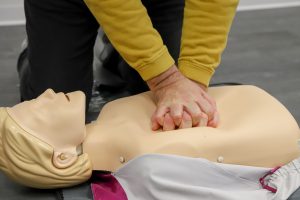
Canadian CPR guidelines require real-time feedback devices for adult and infant CPR training courses. These devices measure compression depth, recoil, and rate:
If your older torsos lack built-in feedback monitors, evaluate whether manufacturer upgrade kits are available. If an older model cannot accept feedback modules, it must be retired from certified course delivery.
Training standards and course names update periodically across Canadian jurisdictions. Staying informed on industry changes ensures your classroom gear matches updated curriculum specifications. For insights into evolving industry program names and standards, review updates on new names for first aid training programs.
Matching compliant gear with current curriculum standards protects your training facility reputation and ensures students receive valid certification cards upon course completion.
Deciding whether to fix or replace comes down to simple math. Follow this clear financial framework when reviewing damaged equipment:
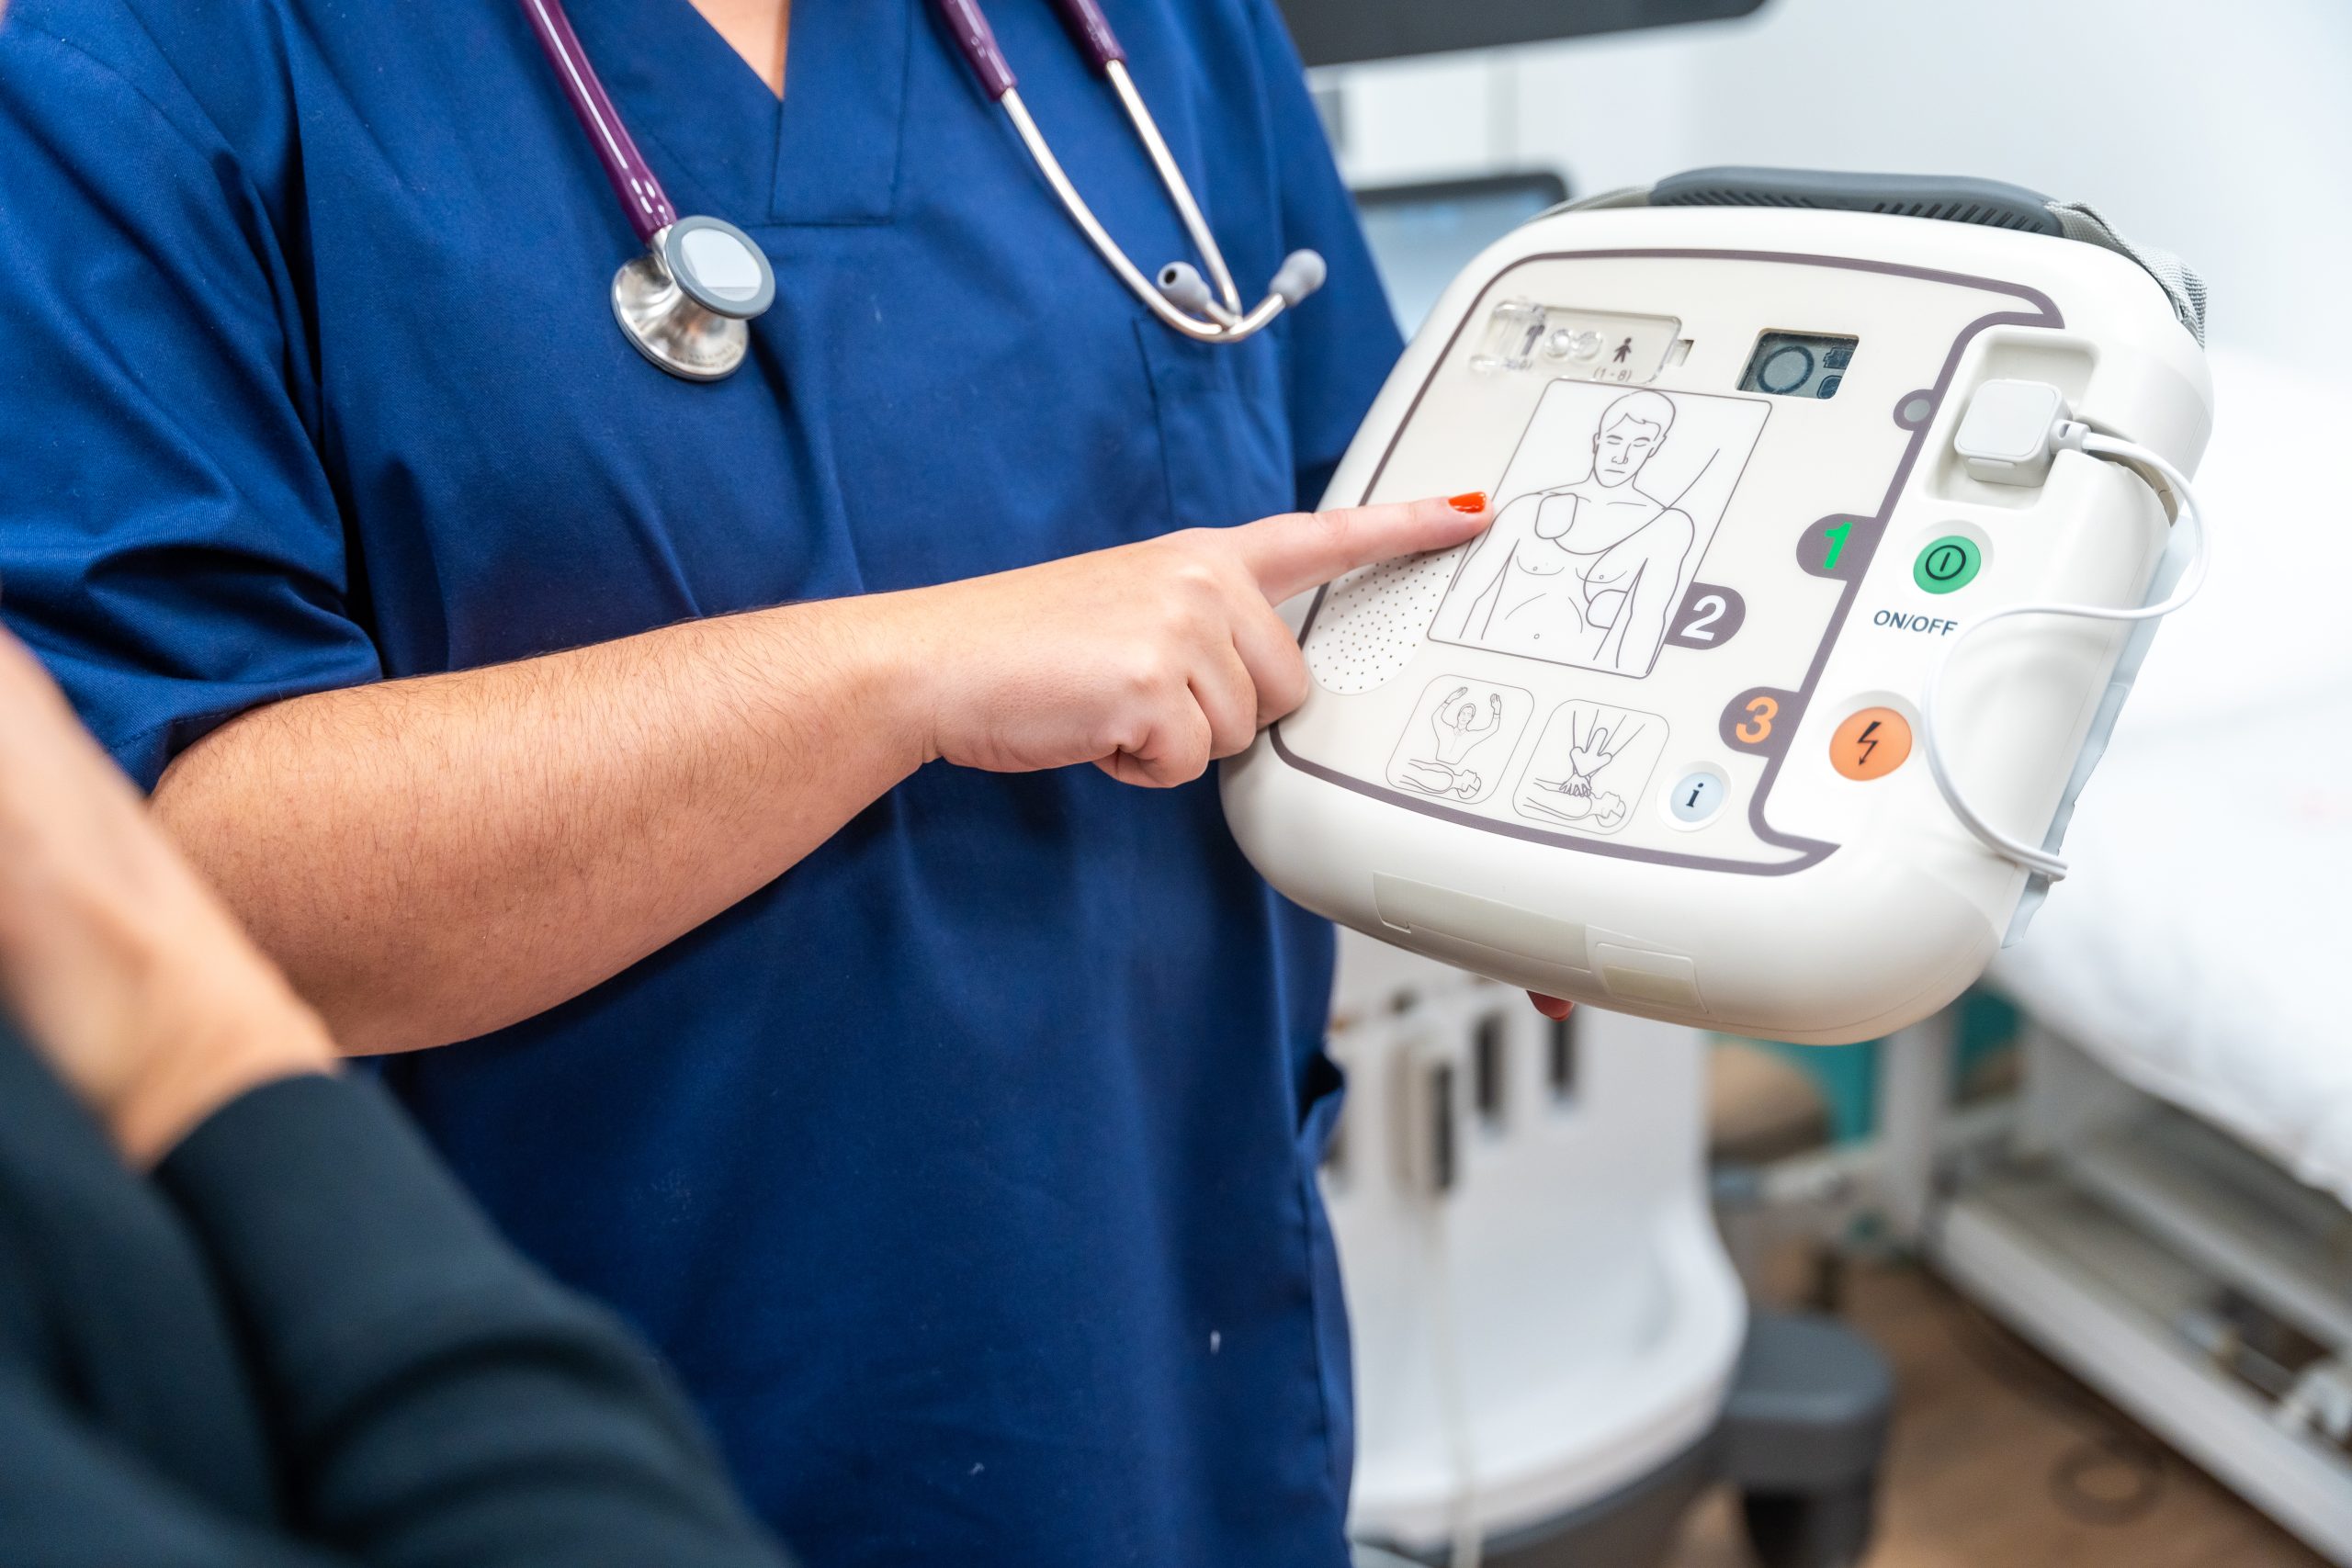
In addition to maintaining your manikins, remember to review all classroom emergency gear. Stocking fresh Physio-Control LIFEPAK CR2 replacement pads alongside your training AEDs ensures your live-response units and training setups remain fully operational.
Canada’s climate presents unique challenges for plastic and electronic training equipment. Cold winter temperatures make vinyl brittle, while summer humidity degrades foam inserts:
Taking care of your equipment ensures high performance, clean presentation, and compliant training for years to come.
How often should you change CPR manikin lung bags?
Change lung bags after every training class or after every student if face shields are not used. Fresh lung bags ensure sanitary airflow and prevent cross-contamination.
Can you fix a CPR manikin clicker that stopped working?
Yes. Most clicker failures are caused by misaligned springs or worn internal clicker tabs. Replacing the internal chest plate or spring assembly restores proper sound cues.
Are old CPR manikins without feedback monitors still usable?
They can be used for informal demonstrations or practice sessions, but major Canadian certification bodies require real-time feedback devices for official course certifications.
What cleaning solution is safe for CPR manikin skins?
Use warm water mixed with mild dish soap or approved non-corrosive disinfectant wipes. Avoid bleach, alcohol solvents, or abrasive pads that scratch plastic.
How do cold temperatures affect CPR manikins?
Freezing temperatures cause PVC and vinyl skins to stiffen and become brittle. Performing compressions on a cold manikin can crack the outer skin or fracture internal plastic frames.