Menu
Close

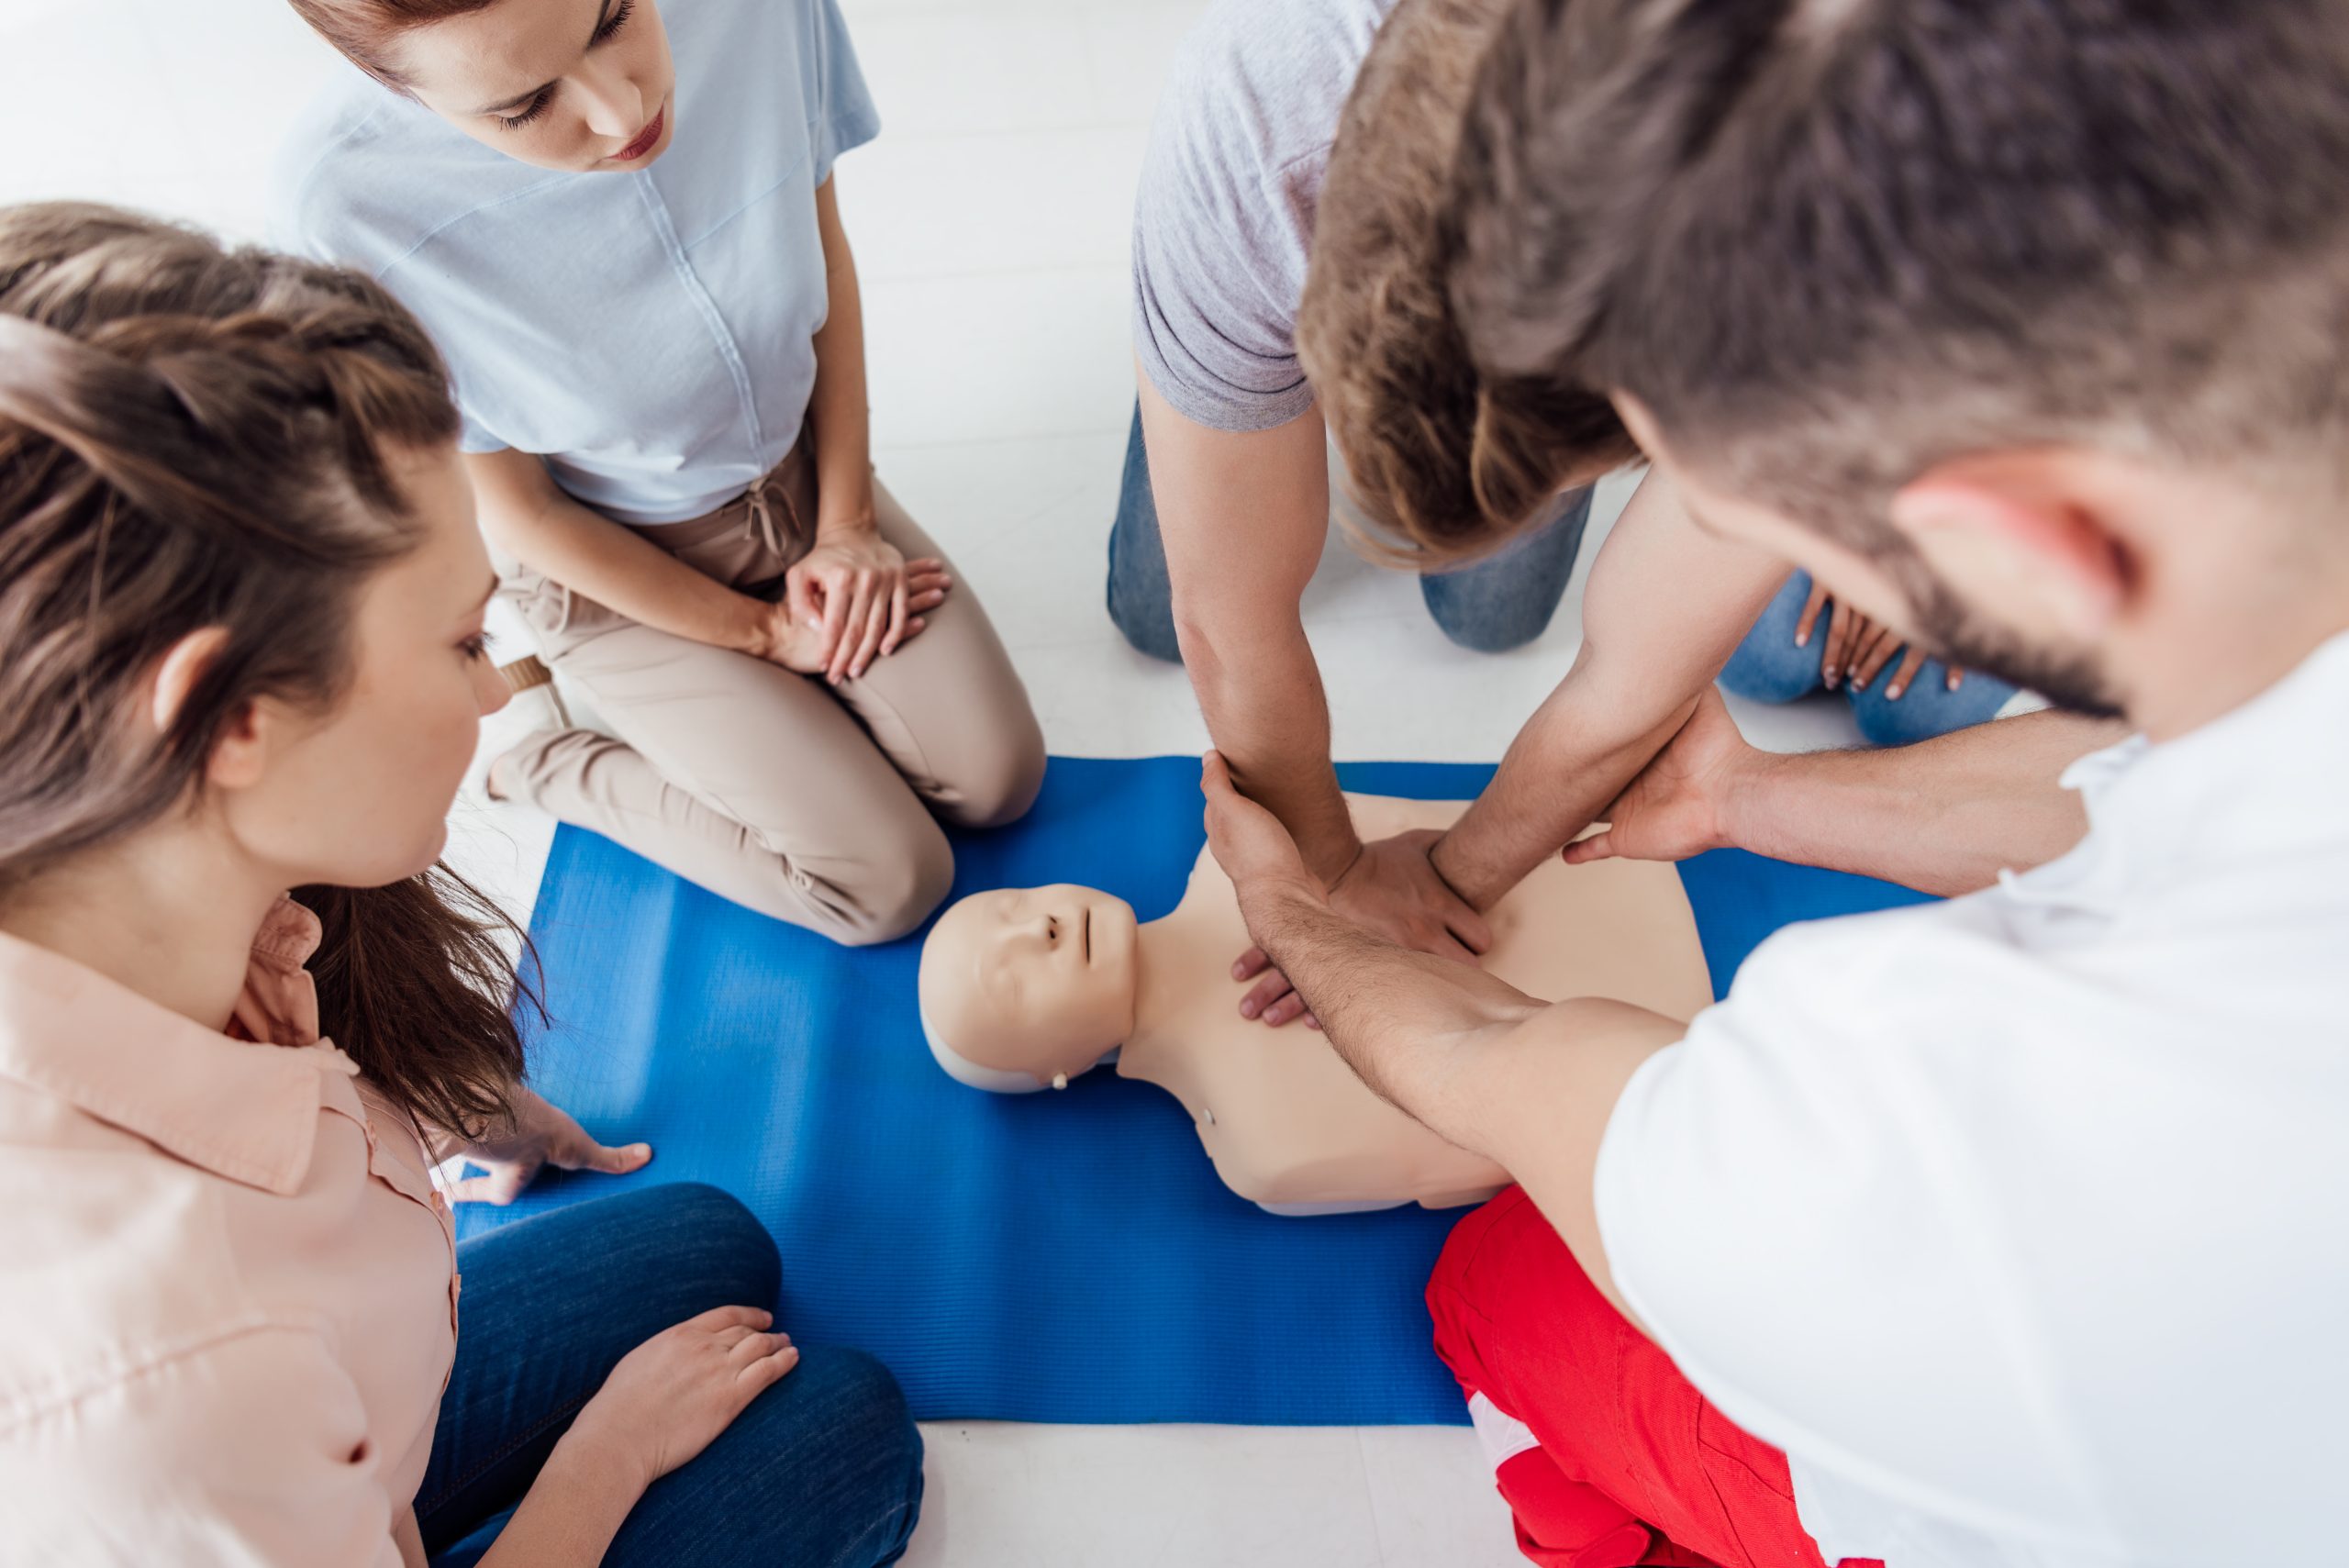
Setting up a classroom filled with twenty training manikins can quickly drain your time when class starts in fifteen minutes. Struggling with torn plastic shields, twisted neck valves, or chests that refuse to rise during rescue breathing drills frustrates instructors and slows down learning. Regular maintenance keeps your equipment performing properly while maintaining proper hygiene standards for every student.
This guide details how to efficiently maintain your training fleet. You will learn how to replace Prestan lung bags across various torso models, fix air flow bottlenecks, and handle other popular systems like CPR Prompt and Laerdal.
Replacing airways in Prestan torsos is straightforward once you understand the internal anchoring points. Follow these brand-specific steps to refresh your equipment quickly.

Ultralite models and Series 2000 feedback manikins use lightweight components that require extra attention during installation.
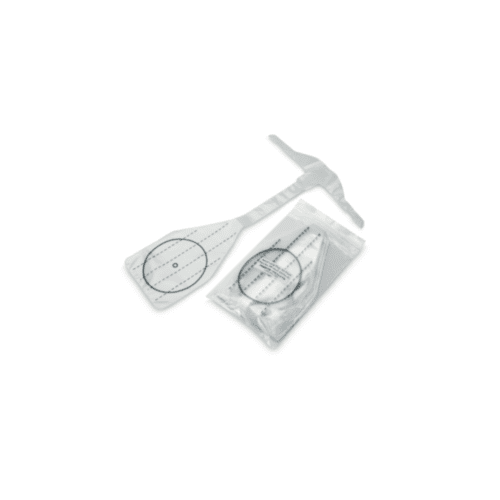
For Ultralite models, feed the shield through the oral canal, loop the side tabs over the designated side notches, and lay the bag centered over the foam core. Ensure the plastic remains completely flat before snapping the chest frame together.
Series 2000 models include a specialized breath sensor clip near the upper airway. Lay the main bag body flat over the sensor pad area, ensuring no plastic bunching interferes with the optical sensor.
When a student delivers a rescue breath and the chest fails to rise, the issue almost always stems from installation alignment rather than a damaged manikin.
The primary cause of restricted airflow is a twisted airway stem. When inserting the shield through the head assembly, the plastic tube can twist 180 degrees. This creates a tight twist that acts as a seal, blocking incoming air.
To fix this issue:
If the airway tube is clear but the chest still fails to rise, check the position of the main air bag on the chest plate. If the bag sits off-center or hangs off the edge of the torso frame, the skin cover will pin the plastic down, preventing expansion. Center the bag directly over the midline of the compression plate so air spreads evenly under the chest skin.
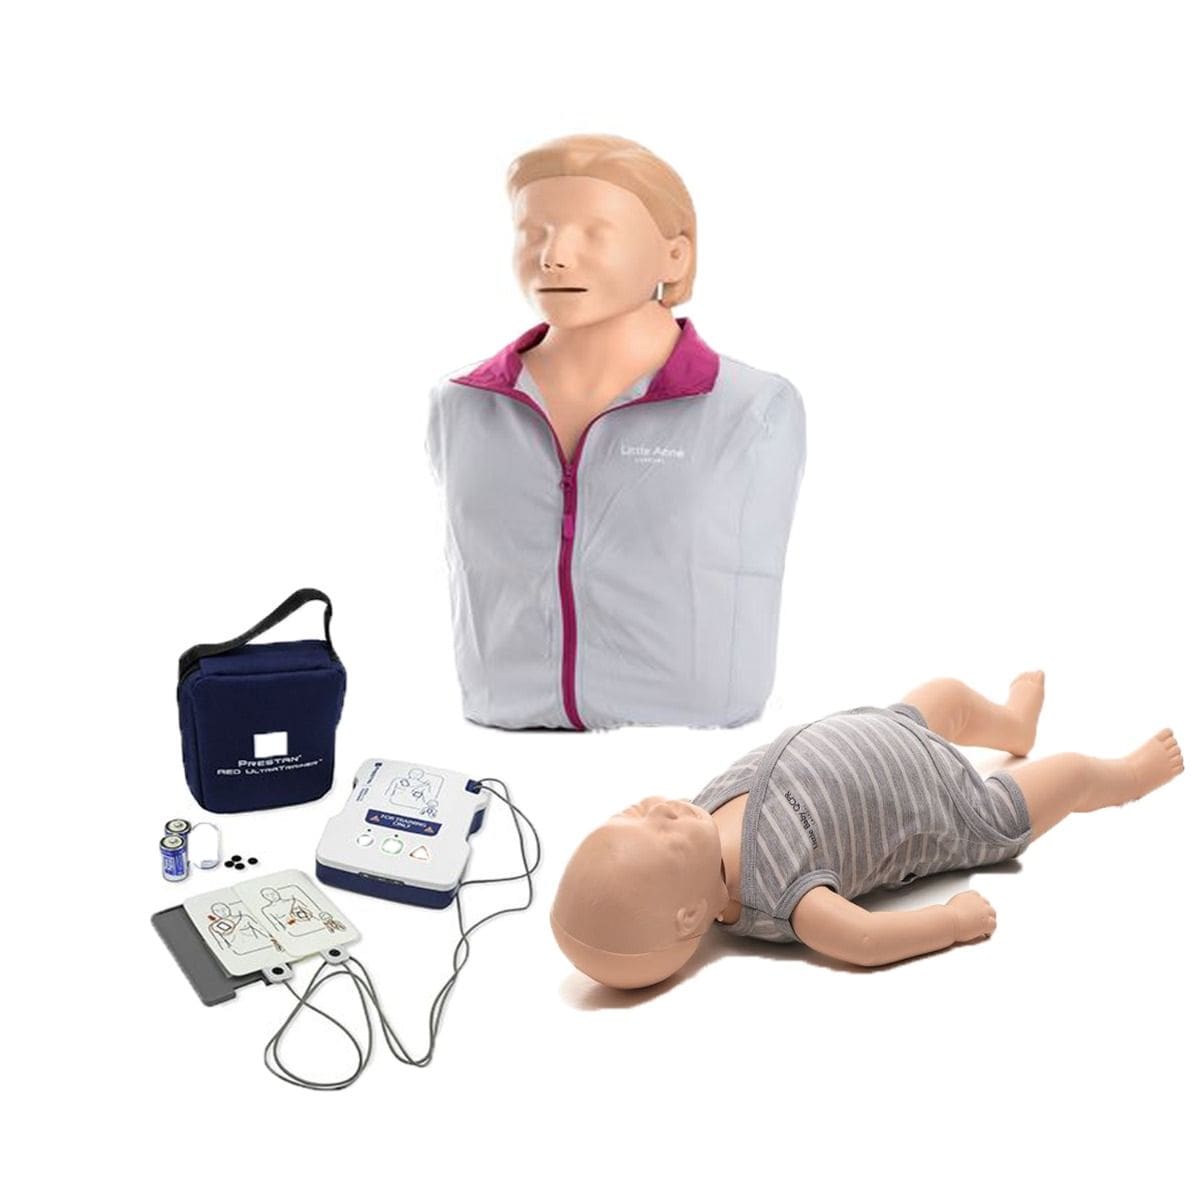
Training centers often use a mixed fleet of equipment. Here is how to swap consumable airways across other leading brands in your supply closet.
CPR Prompt torsos use a rigid plastic insertion tool to pull thin face-shield bags down through the narrow neck column.
Laerdal Little Anne manikins utilize a two-piece airway system featuring a hard face skin connector paired with an internal chest airway bag or integrated lung bellows.
To change these units, tilt the head back, snap off the flexible face skin, and detach the hard plastic jaw connector from the head shell. Pull the long airway tube out from underneath the chest skin.
When installing a new airway, push the long tube under the chest skin, press the hard plastic connector firmly into the jaw socket, and reattach the face skin securely around the ears.
Resetting multiple manikins between back-to-back training sessions requires an efficient process.
Regular physical activity helps first aid instructors maintain the stamina needed to manage heavy equipment during busy training schedules. You can review tips for staying physically active through the Heart and Stroke Foundation of Canada.
Proper sanitation practices keep your training facility compliant with Canadian occupational safety standards and protect your students.
Consumable face-shield lung bags are strictly single-use items designed for individual student practice. Reusing disposable bags leads to cross-contamination risks and degrades the thin plastic material, causing micro-tears that lead to air leaks.
Between class sessions, wipe down the exterior faces, hard jaws, and chest skins using approved sanitizer wipes or a mild disinfectant solution. Allow all components to air dry completely before packing torsos into storage bags. This prevents moisture buildup, mold, and material degradation.
Using incorrect replacement components can cause air leaks, poor chest rise, or damage to your manikins. Always pair your equipment with the correct replacement parts.
When stocking your supply shelf, order bulk packs to lower your cost per student and ensure you never run out during high-volume training schedules.
Explore our complete selection of CPR Manikins & Training Supplies to find the right equipment for your facility. You can also browse our inventory of Replacement CPR Lung Bags to restock your training kits with authentic, high-quality supplies.
You should replace disposable face-shield lung bags after every training student or at the end of each training session. Single-use airways prevent cross-contamination and maintain proper hygiene standards.
Chest rise issues are usually caused by a twisted neck connector tube, an unaligned bag on the chest plate, or an incomplete head-tilt chin-lift. Smooth out the plastic neck channel and ensure the bag lies flat across the internal chest plate.
No, Prestan lung bags are sized specifically for Adult, Child, and Infant models. Additionally, specialized models like the Series 2000 and PRO+ require their own matching lung bag designs.
No, disposable lung bags are manufactured from thin plastic designed for single-use application. Washing them damages the material and can compromise the built-in one-way filter membrane.