Menu
Close
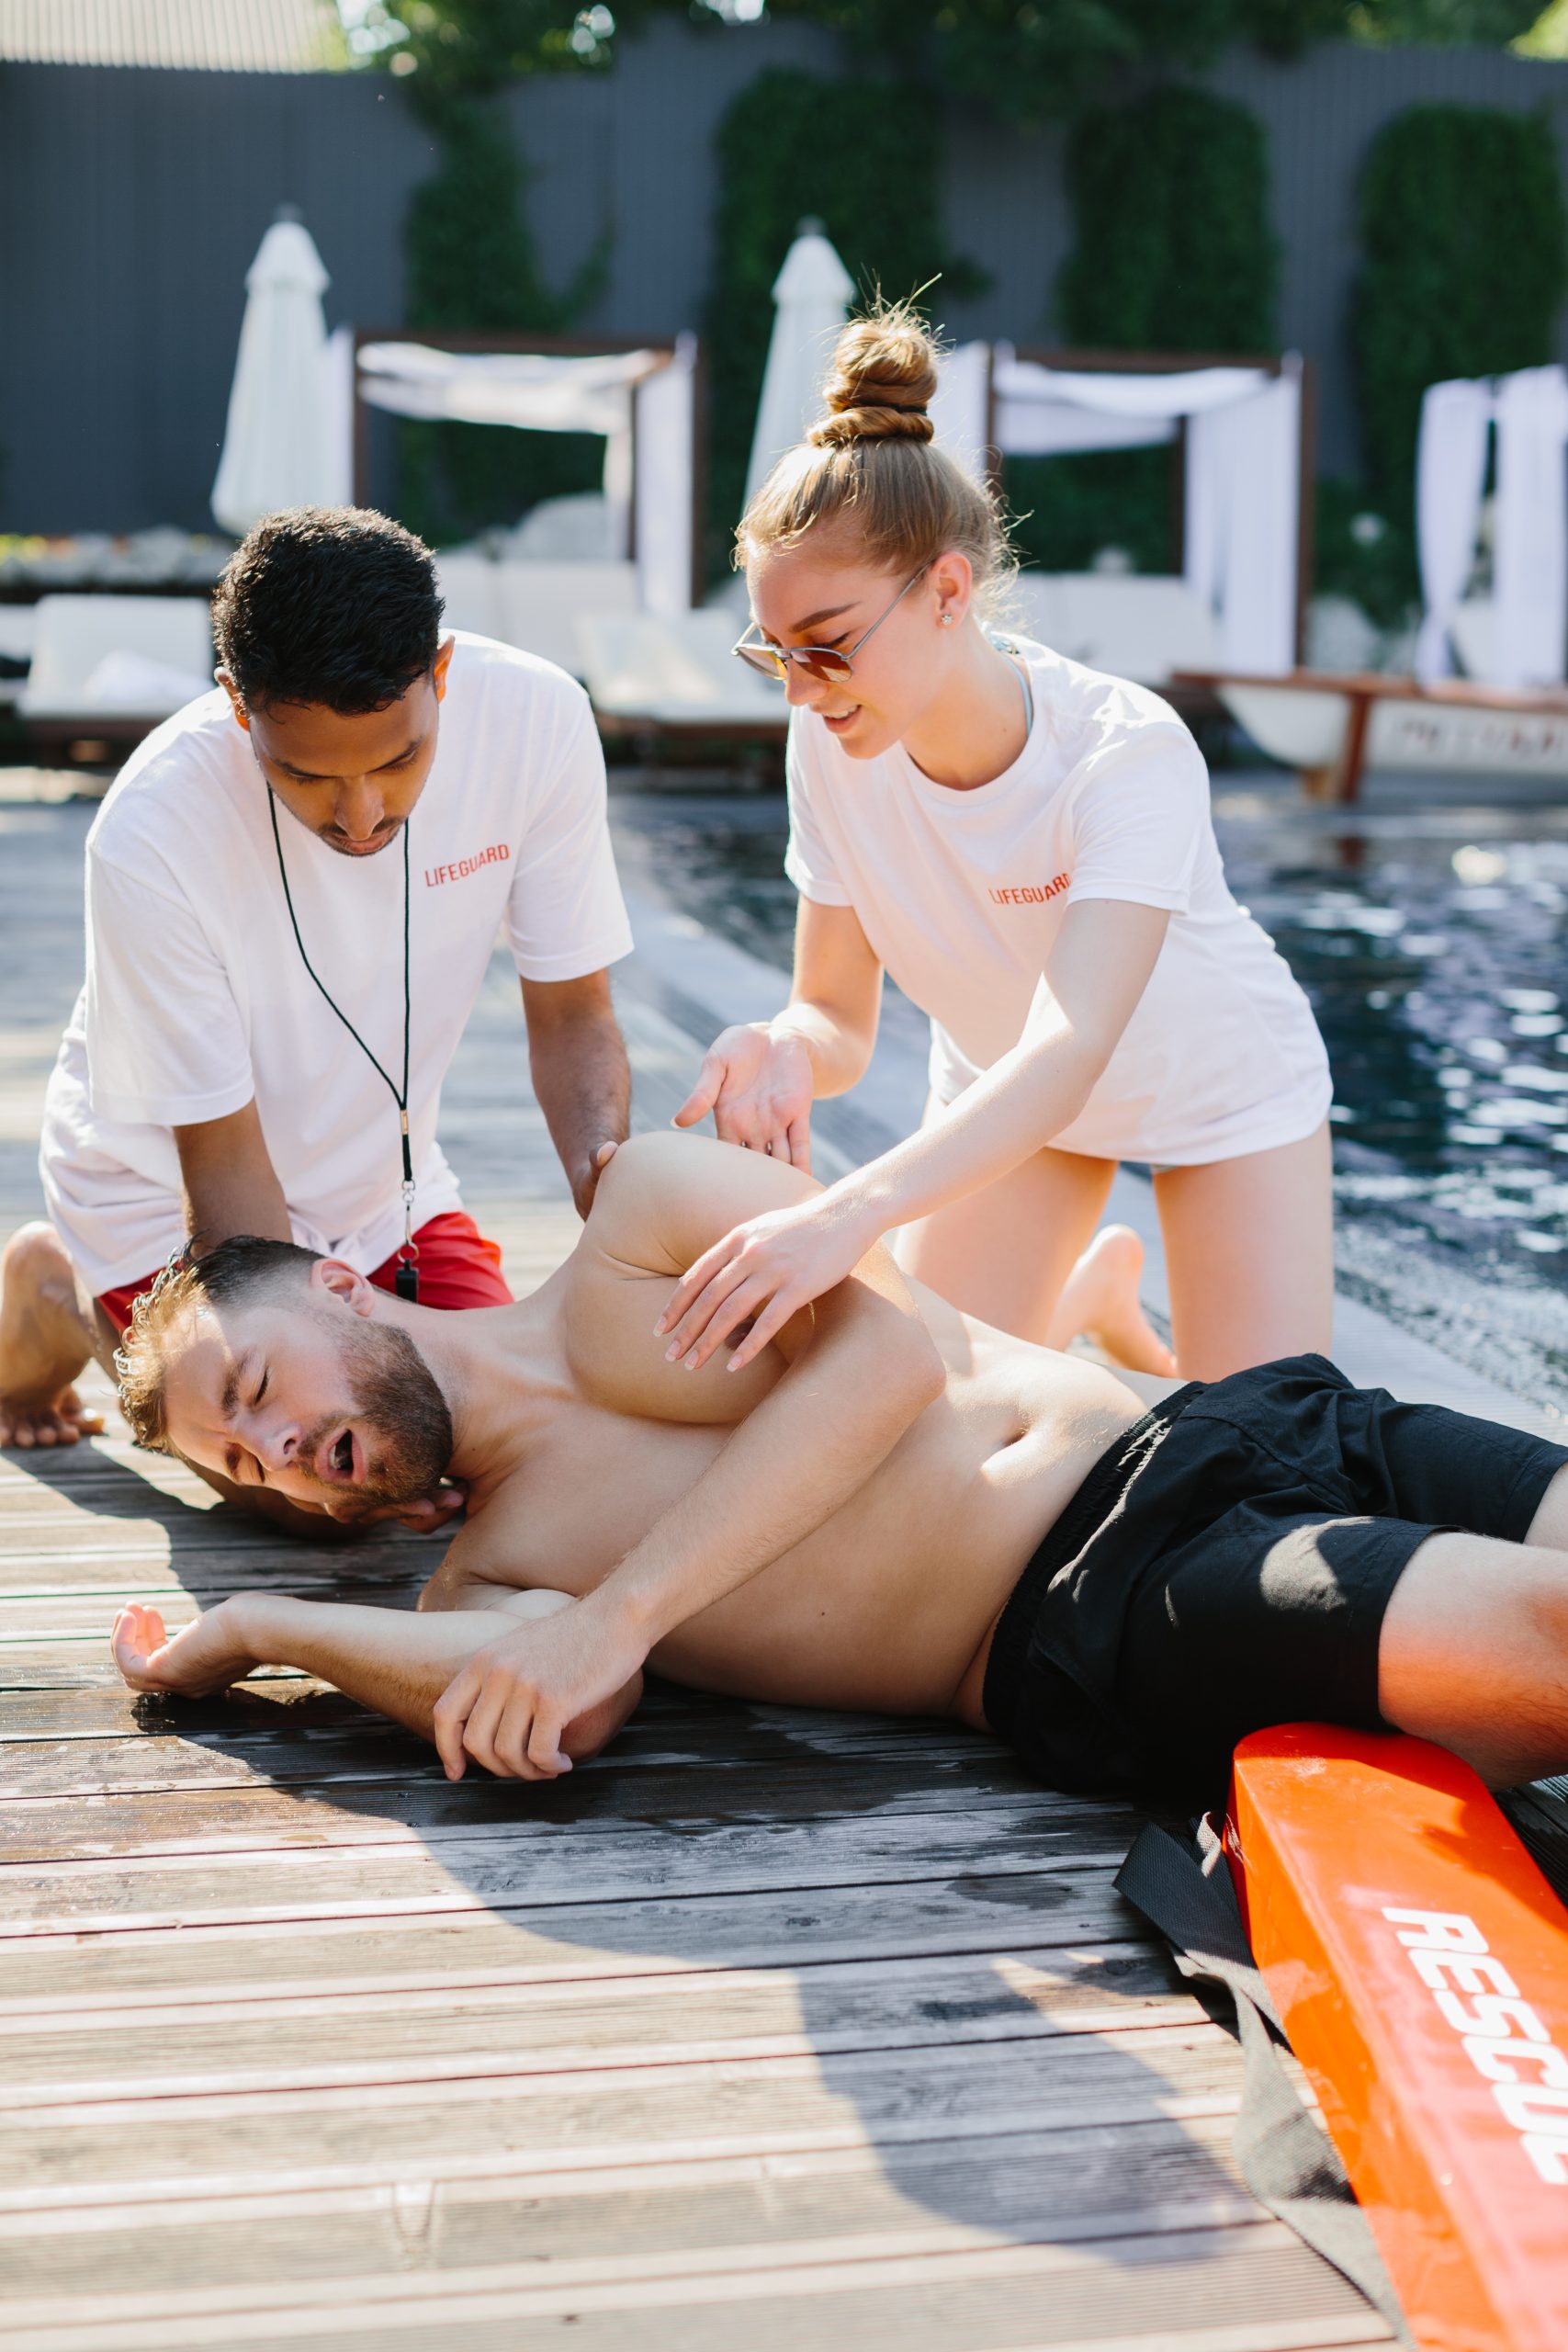
If you teach CPR or rescue skills in Canada, chances are you travel. You might visit remote communities, outdoor worksites, camps, or training days at lakes and parks. The challenge is always the same: how do you bring realistic gear without hauling a truck full of equipment?
A travel-ready kit built around a rescue manikin and compact CPR accessories solves that problem. With the right setup, you can move quickly, keep sessions realistic, and still respect your budget and your back.
This guide walks through how to choose gear and pack a kit that works in the real Canadian world, not just in a classroom.
Remote and outdoor training brings unique challenges:
Remote first aid resources in Canada highlight that help can be hours away in the wilderness, so training needs to feel real, not just theoretical.
At the same time, instructors have limited time and energy. You need:
A well-designed travel-ready kit lets you handle multiple course types with the same core gear.
Before you think about bags and cases, ask a few simple questions:
Training guidance from the American Heart Association stresses that CPR skills are most effective when practised in settings that match real conditions as closely as possible.
If you know your realities, you can size your kit correctly instead of overpacking.
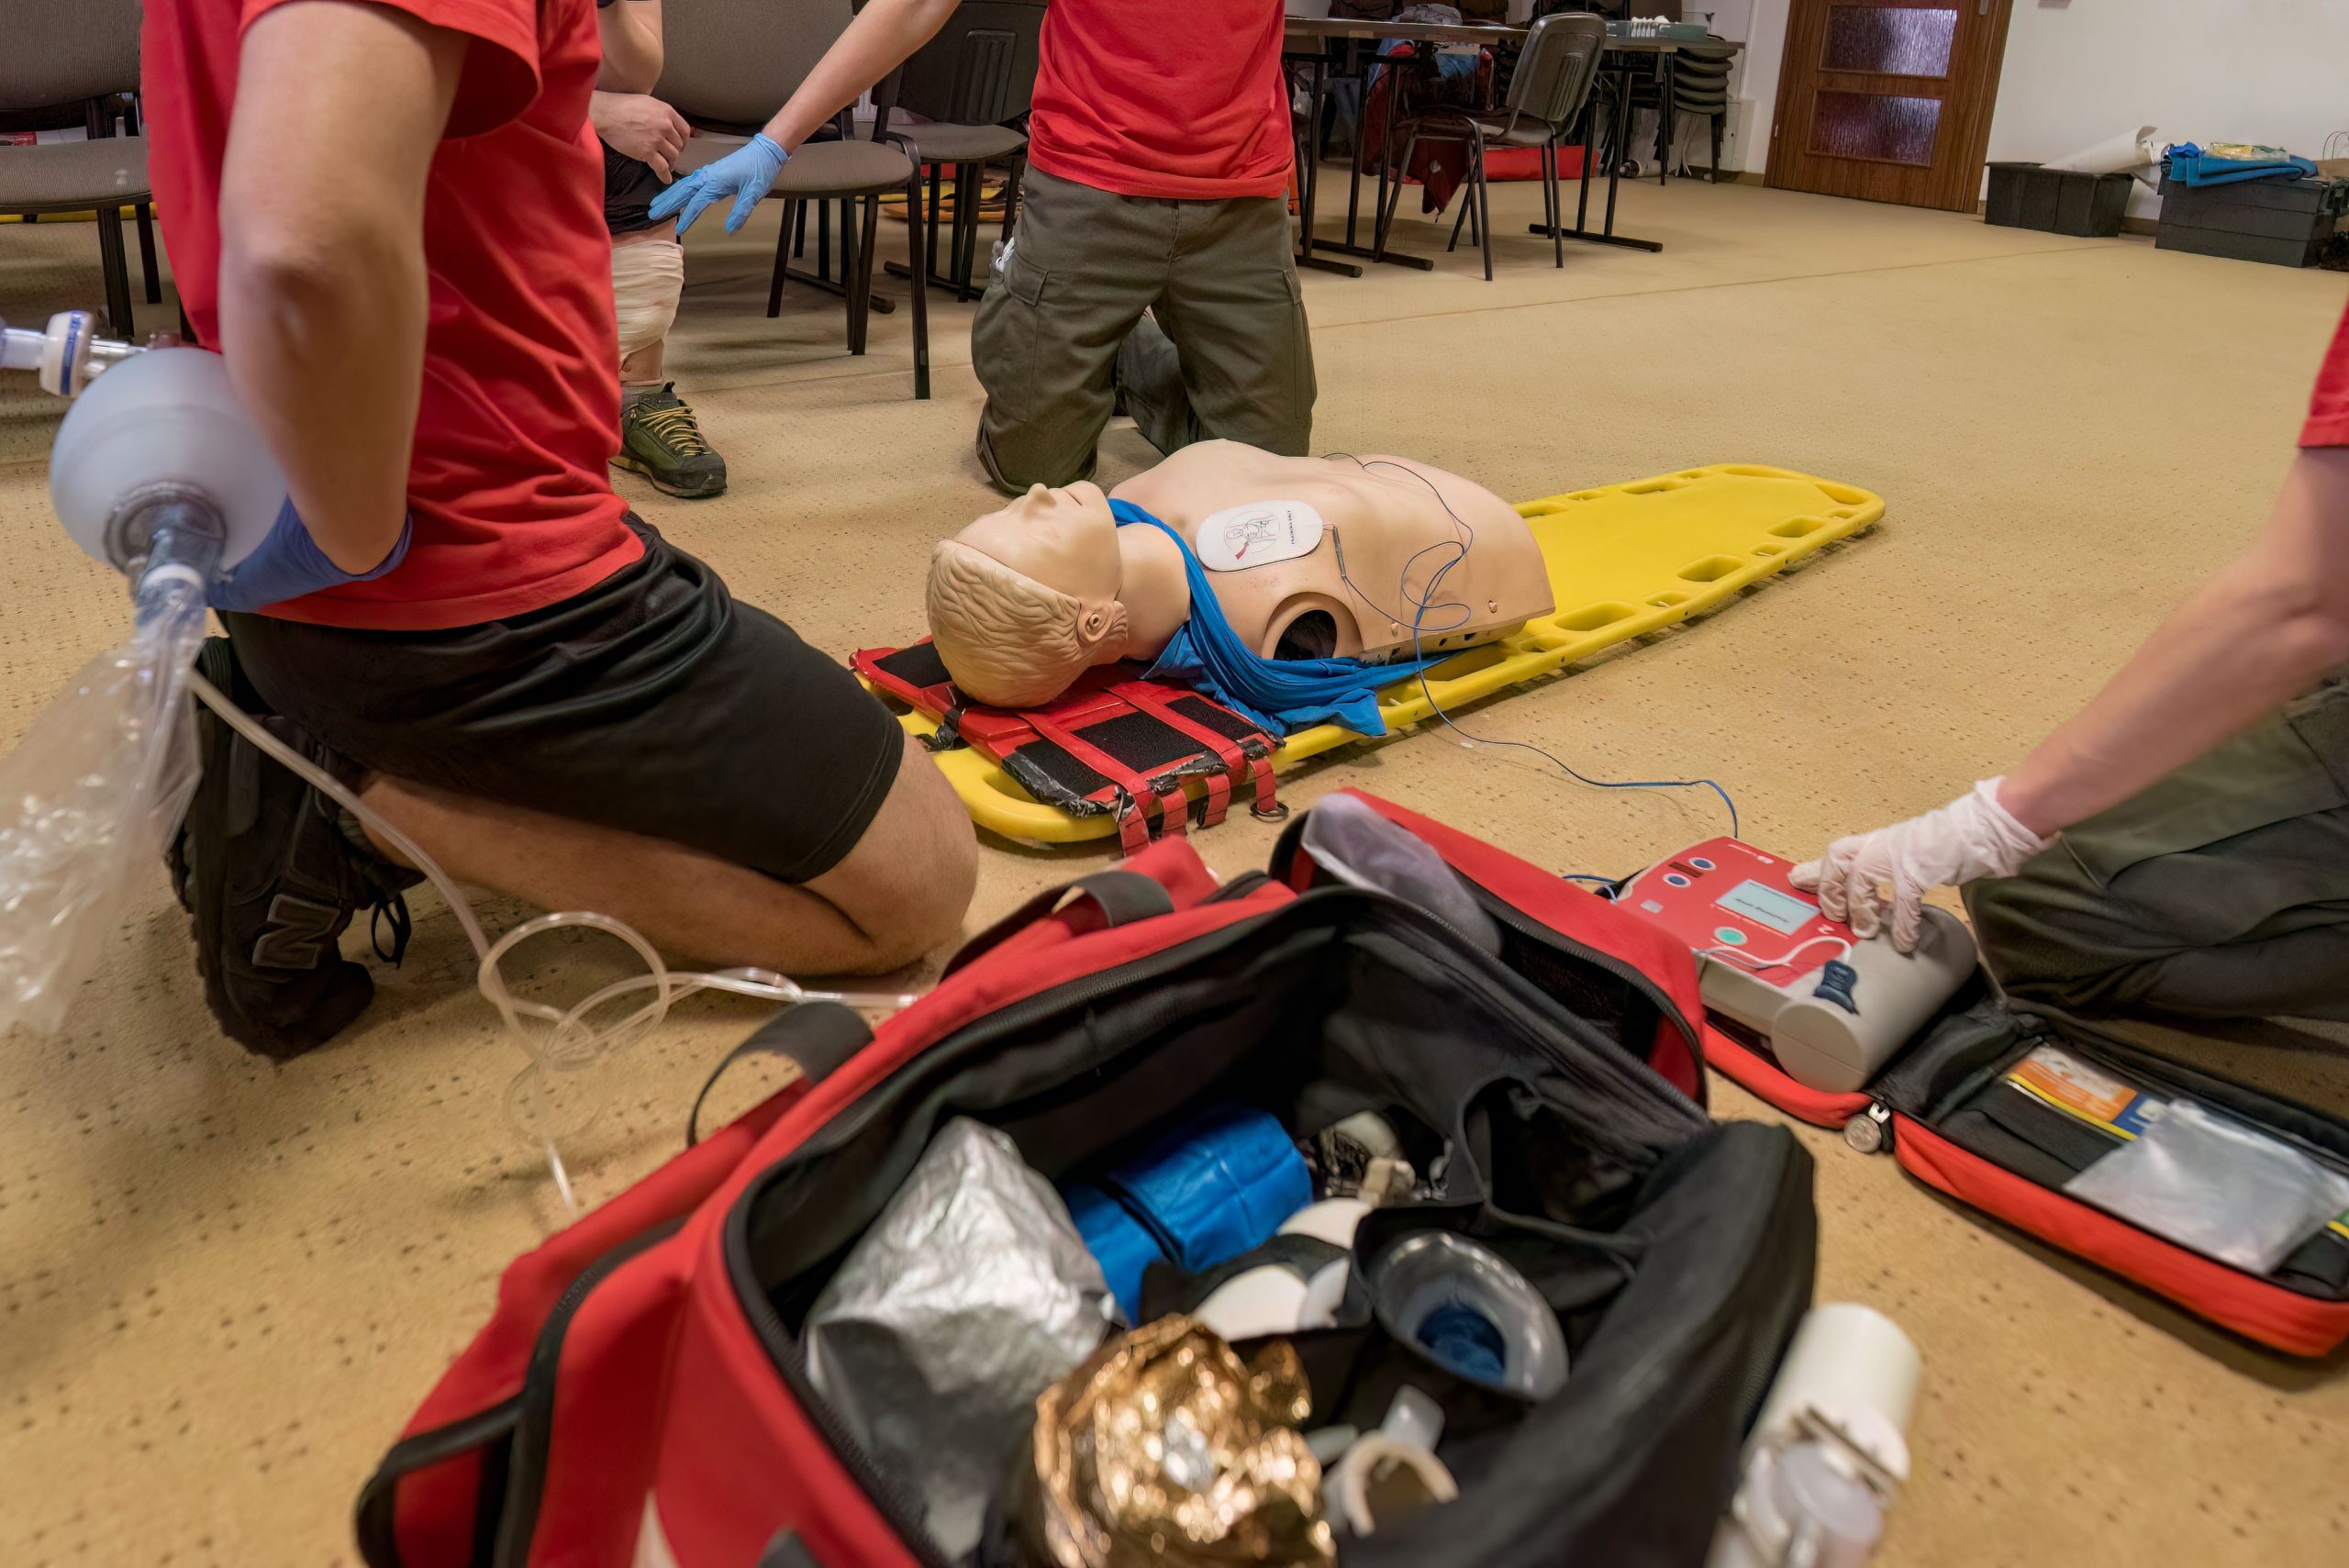
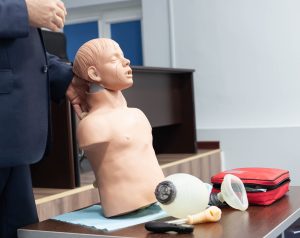
Not every rescue manikin Canada uses is ideal for travel. Some are heavy full-body models best kept at a fixed training site. For mobile work, look for models that balance realism with portability.
Think about:
Buying guides for mobile CPR and rescue instructors often recommend smaller or modular manikins for frequent travel, because they are easier to carry, stack, and store.
If you run only occasional outdoor drills, you may accept a heavier rescue manikin. If you are on the road weekly, a lighter option becomes essential.
Outdoor training in Canada means:
When you compare options, check:
Standards documents for wilderness and remote first aid training list manikins as part of core equipment, and they assume gear can tolerate repeat field use.
Choose a rescue manikin that fits your toughest likely conditions, not just your easiest.
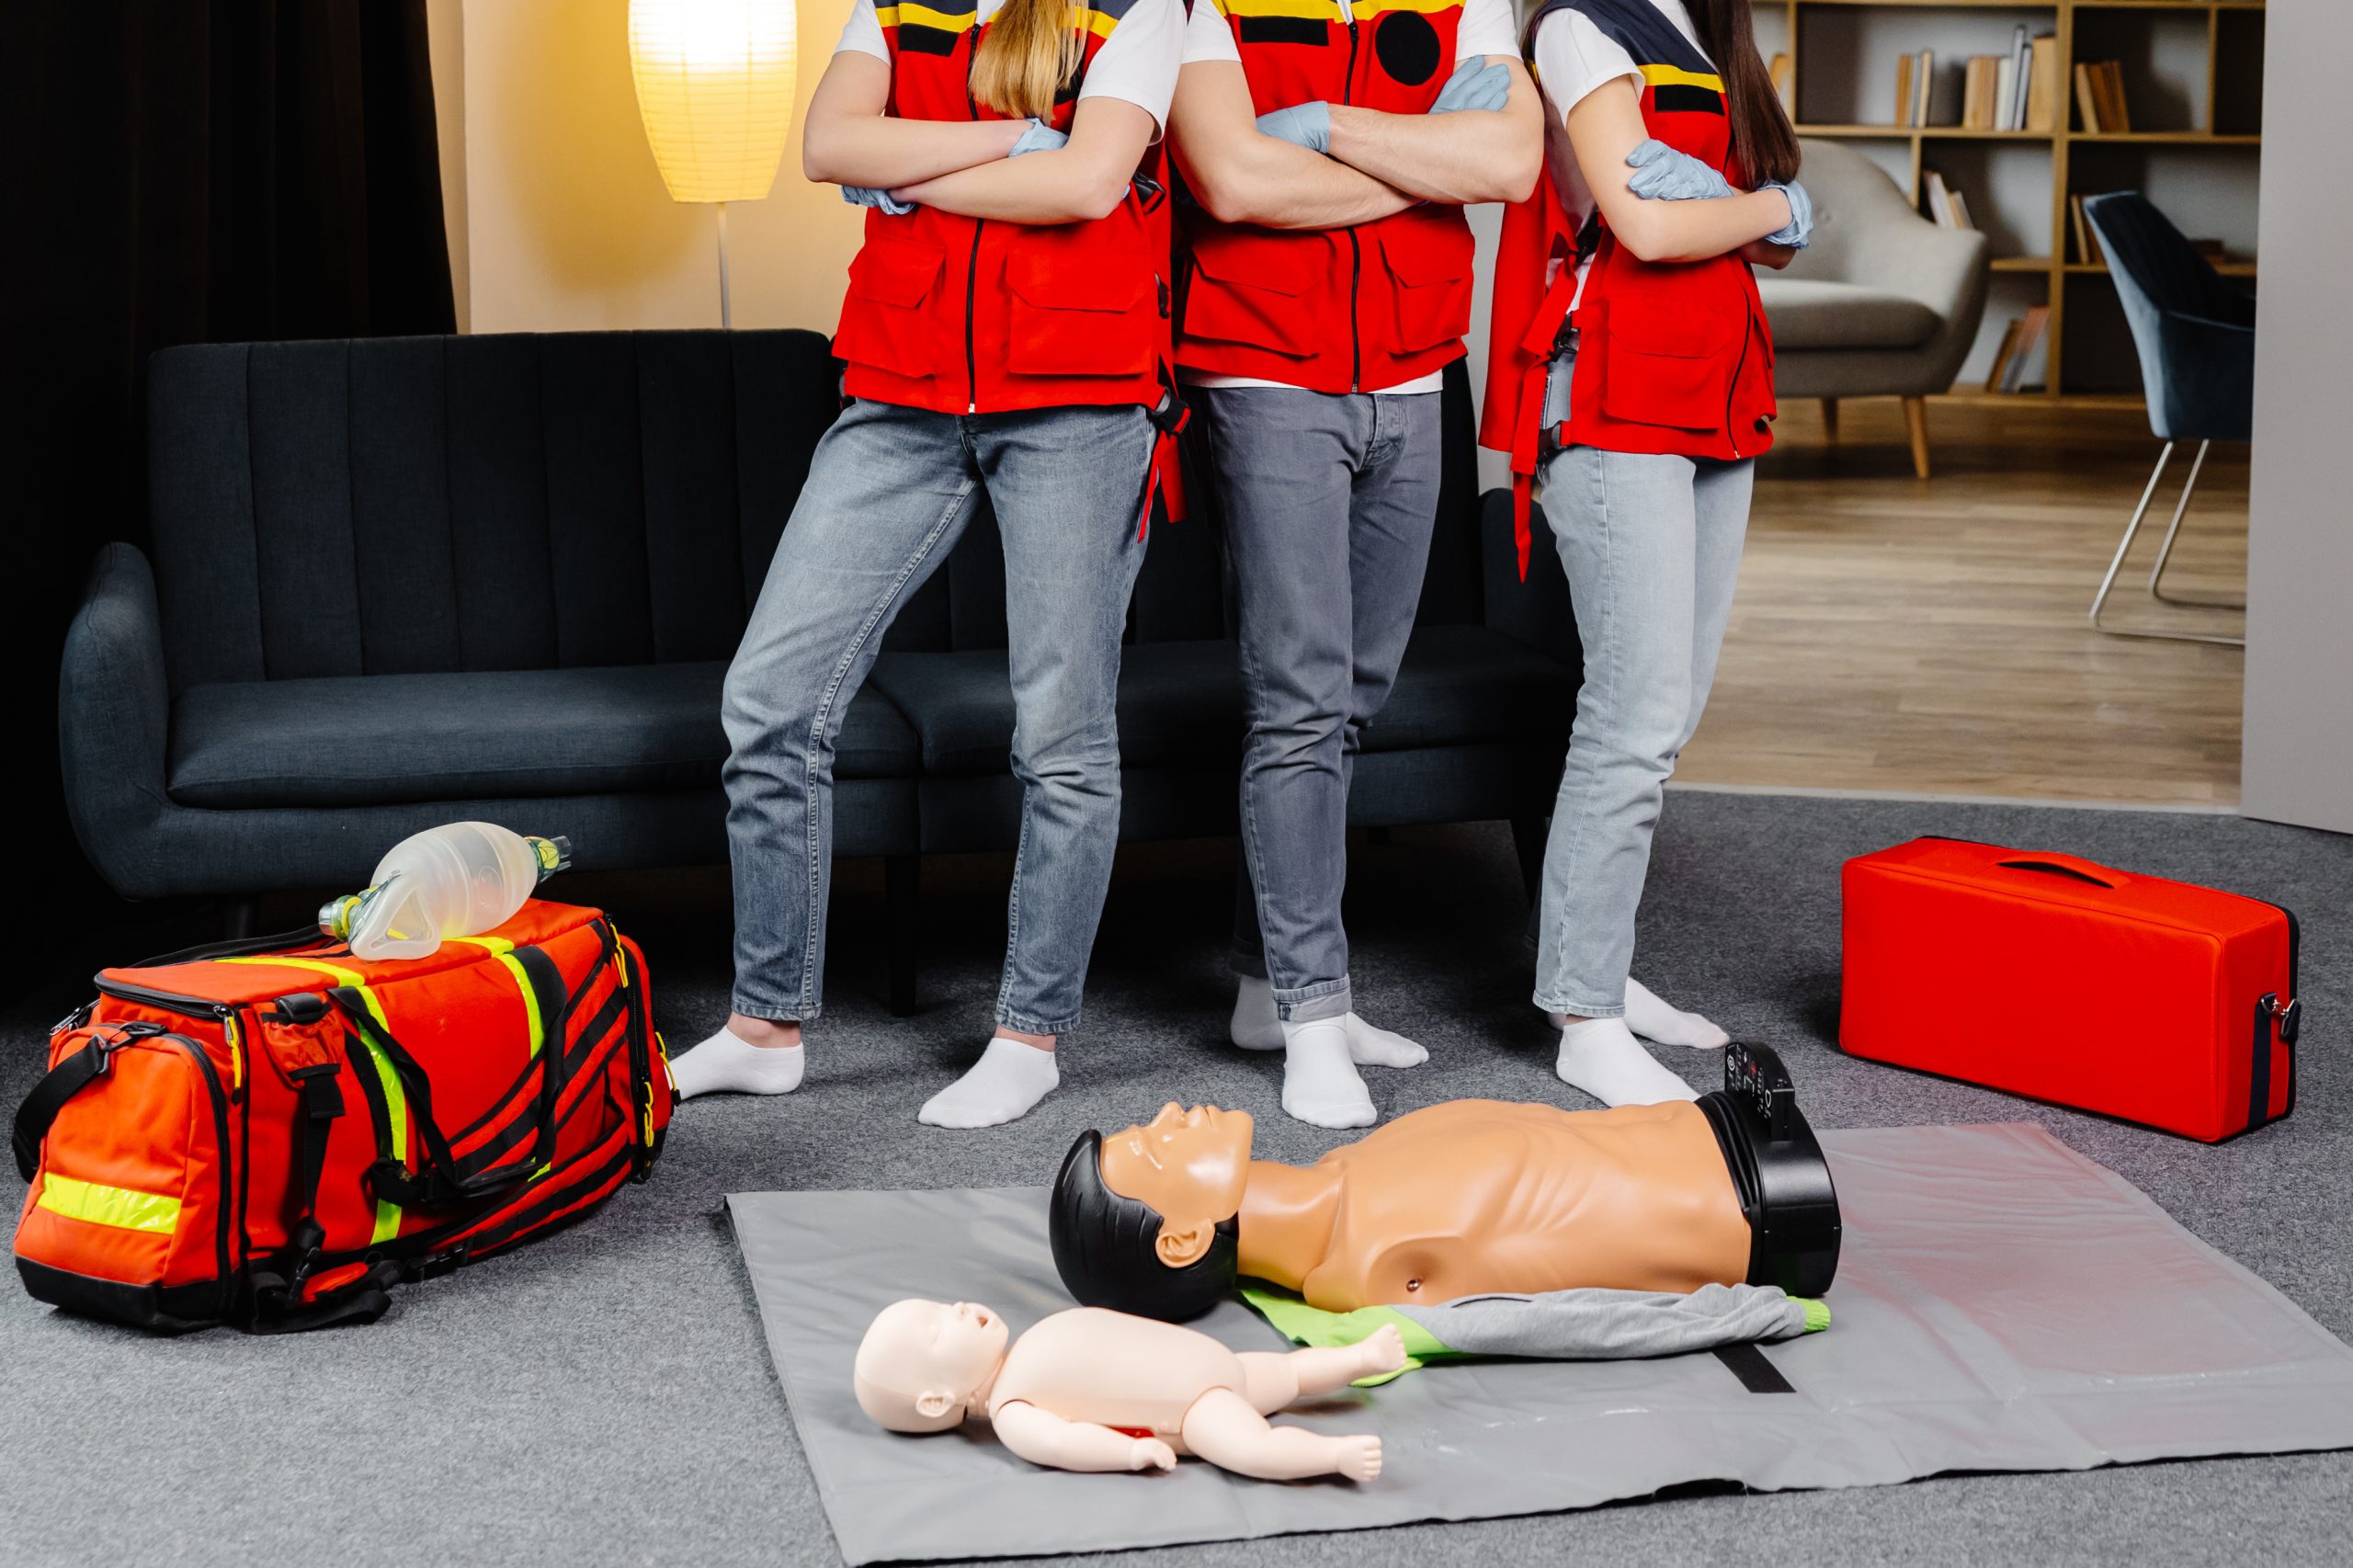
Alongside your rescue manikin, you may also want a compact adult CPR manikin Canada instructors can carry in one hand or small bag. These lighter units give learners a dedicated surface for high-quality compressions and ventilations without replacing your larger rescue manikin.
When you compare compact options, consider:
Research and guidelines on high-quality CPR stress the importance of correct depth, rate, and full chest recoil. A portable manikin that supports those fundamentals makes your remote sessions more than just a demonstration.
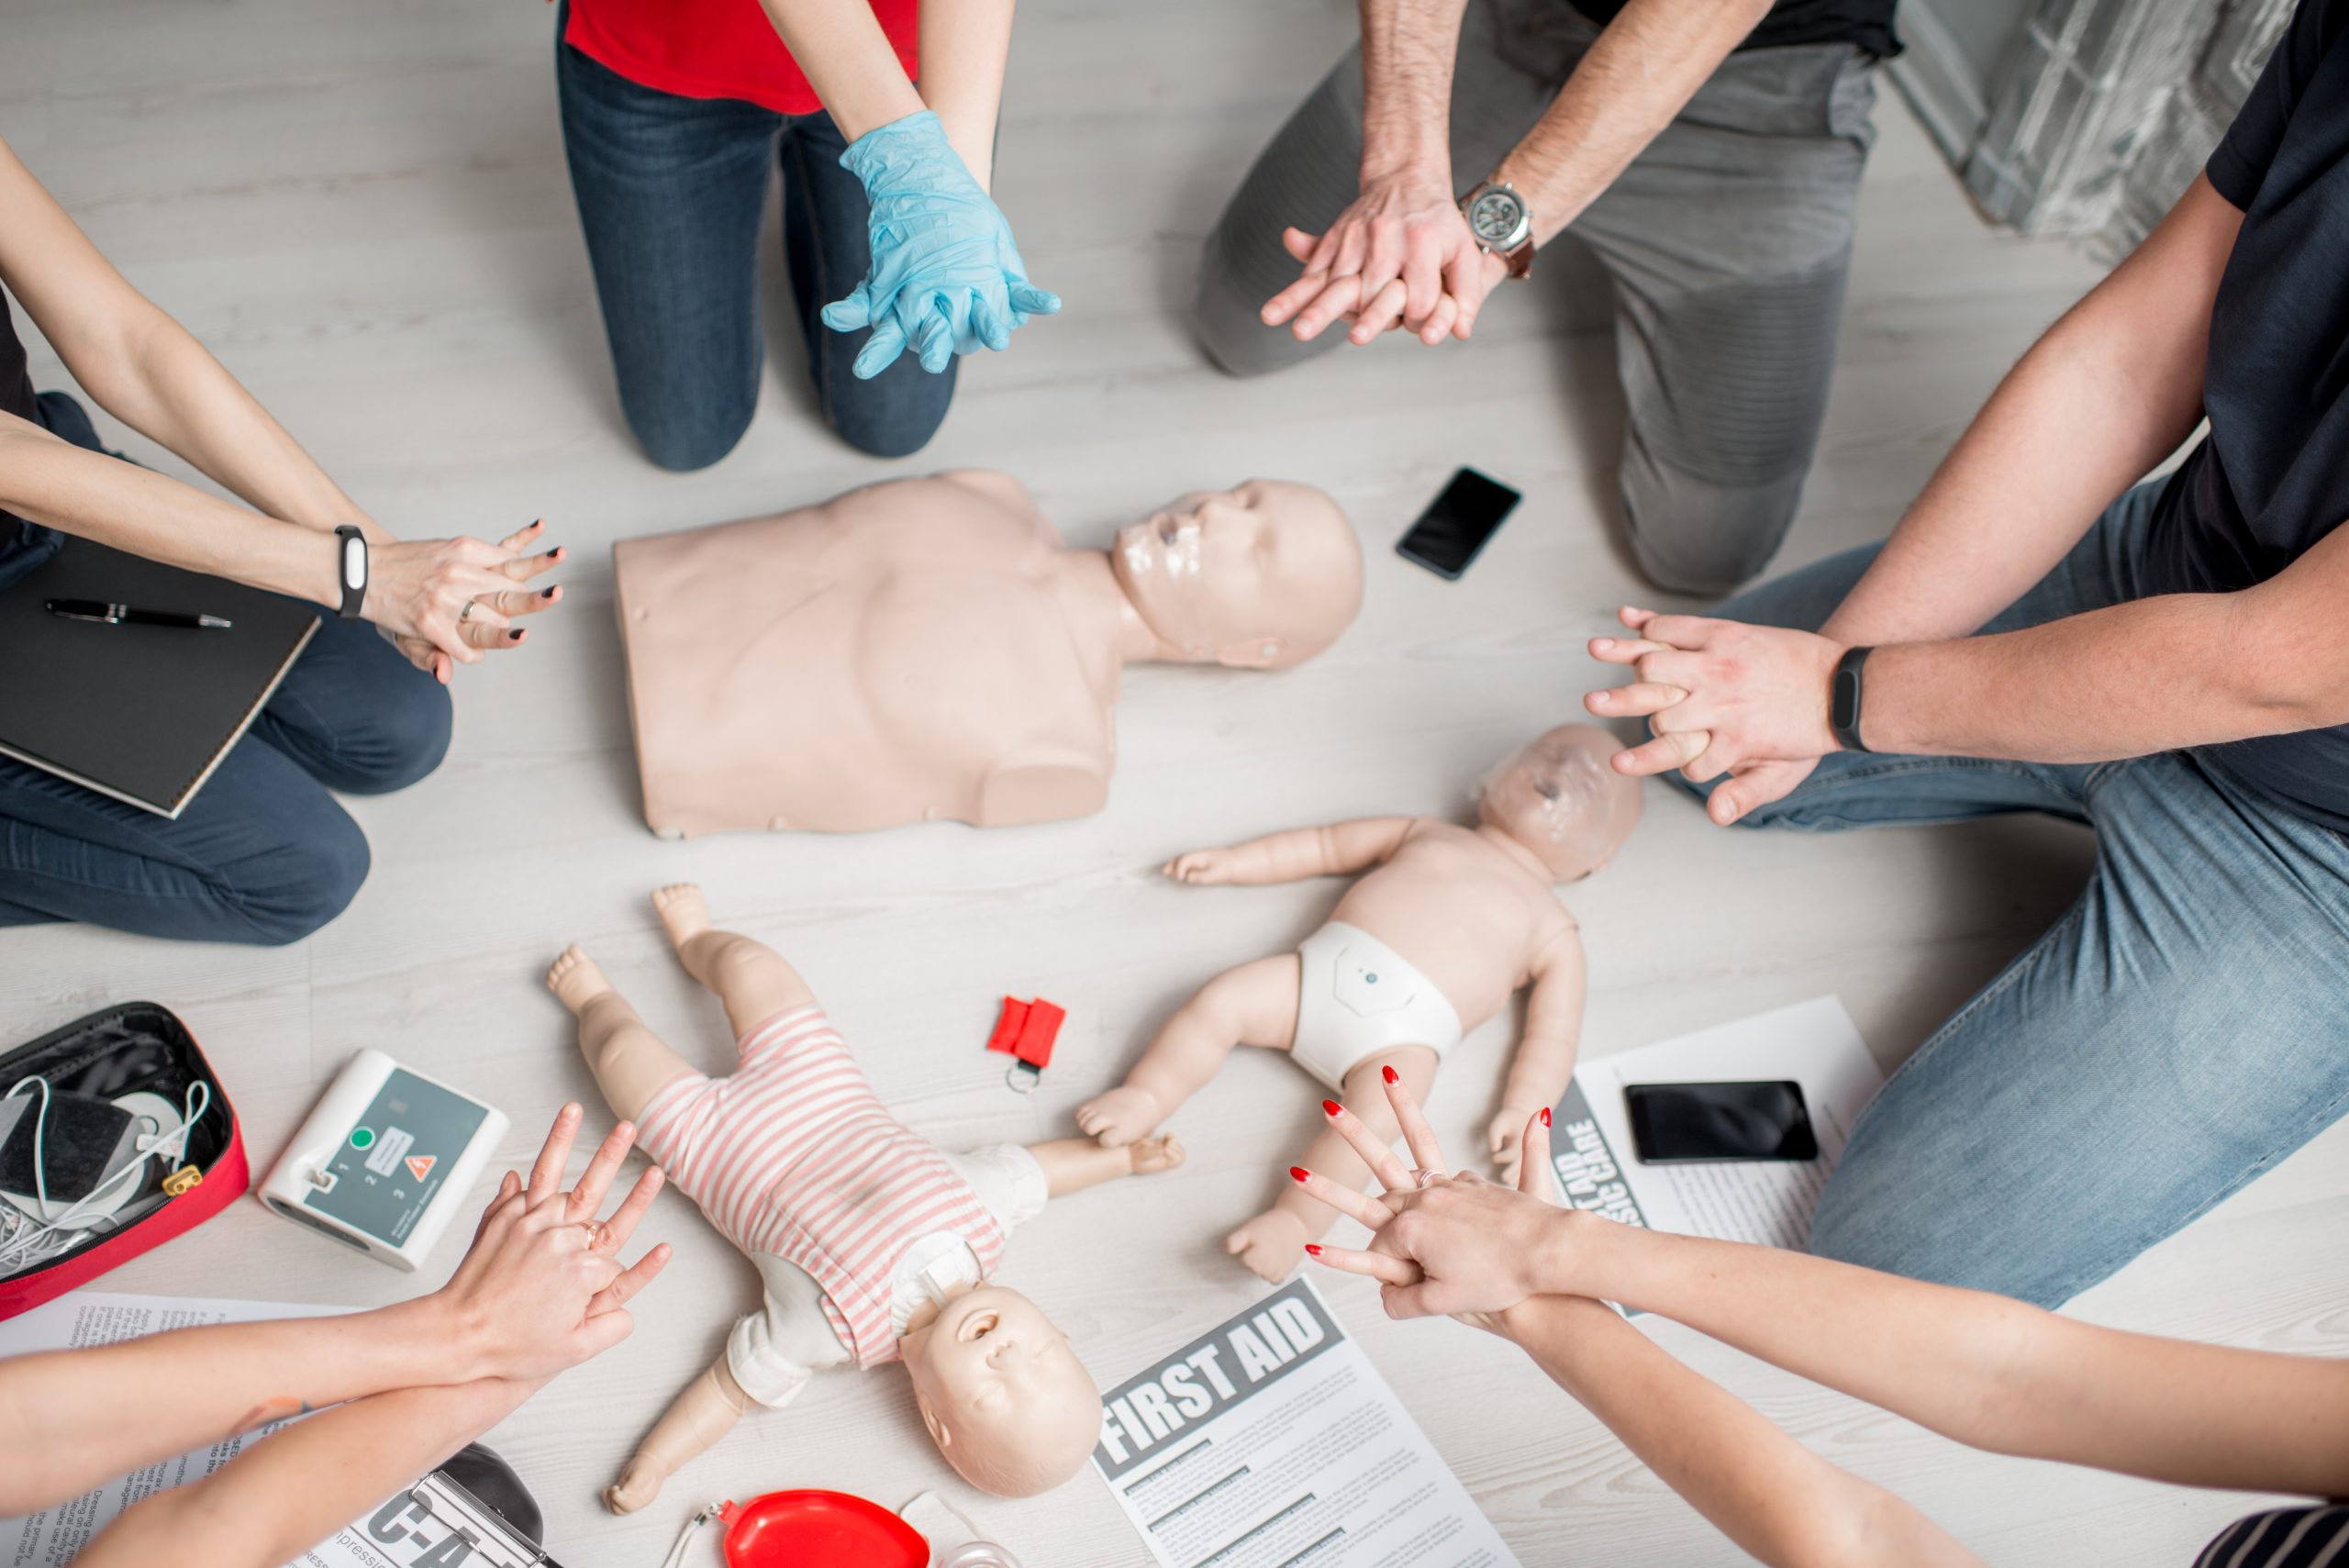
Once your manikins are chosen, it is time to think about accessories. In remote and outdoor settings, you cannot rely on a supply closet down the hall, so planning matters.
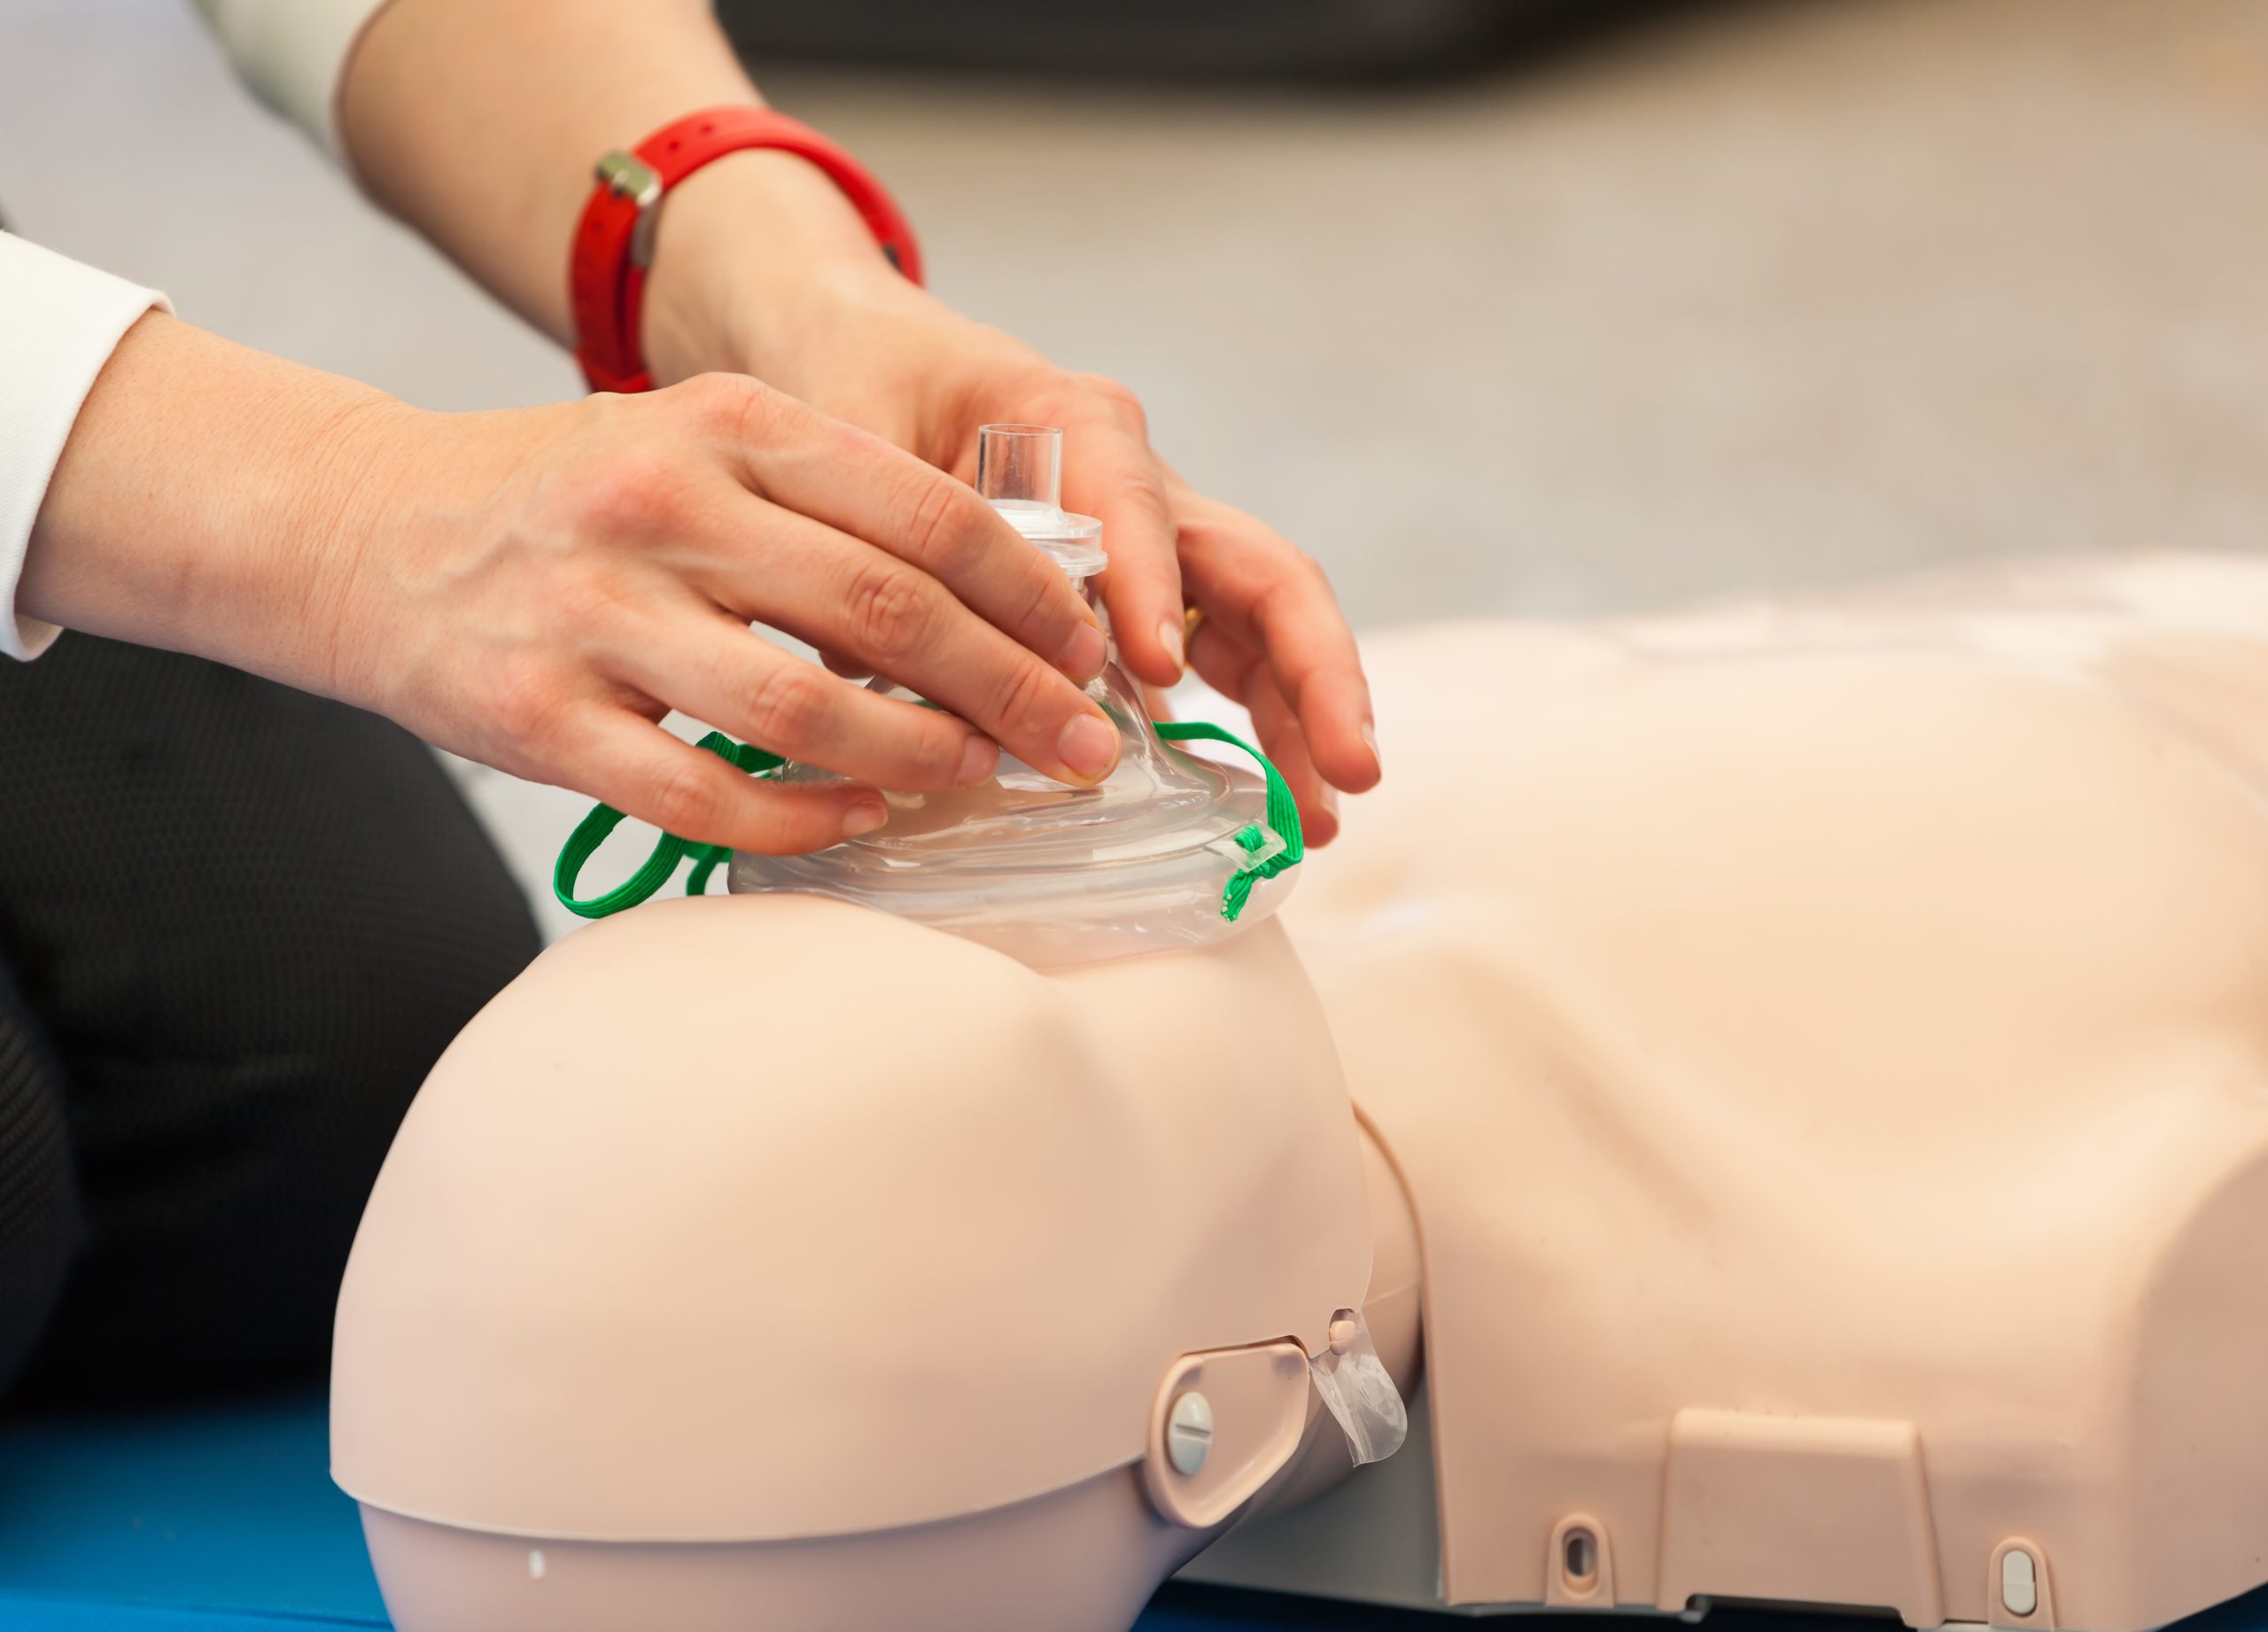
At a minimum, pack:
The American Heart Association’s CPR resources emphasize that barrier devices help protect both learners and instructors during practice.
Keep a separate pouch labelled “Clean” and “Used” so nothing gets mixed up between groups.
You will not always have access to a full sink, but you still need good hygiene.
Consider:
Remote training guidance points out that infection control can be harder in the field, so planning simple, repeatable cleaning steps keeps things safer.
Build a habit: at the end of each session, do one quick pass to clean and reset your equipment before it goes back in the case.
Outdoor training means comfort and safety matter more than usual. Add:
Learners focus better when they are not kneeling on rocks or soaking wet grass. A few low-cost comfort items help your training feel more professional and respectful of their time.
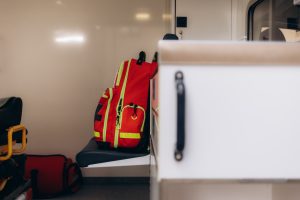
A travel-ready kit is part gear choice, part packing method.
Practical tips:
Many mobile instructors find that a single large rolling case plus one backpack is easier to manage than several small loose bags.
You can even colour-code pouches (for example, blue for clean gear, red for used items) so helpers can assist without detailed instructions.
Budget concerns are real, especially for smaller organizations or community programs.
You can protect your budget by:
The American Heart Association notes that expanding access to CPR training is critical for survival, and smaller, portable training solutions can be one way to reach more communities.
A focused travel kit lets you run more sessions in more places without needing a full classroom setup each time.
Use this checklist as a starting point and adapt it to your program:
Print this list and keep it in your main case. Before each trip, run through it quickly so you never arrive at a remote site missing something essential.
You do not have to design your kit alone.
CPR Depot Canada can help you:
Browse training equipment and accessories at CPR Depot Canada.
Ready to discuss your specific routes, class sizes, and environments? Reach out through CPR Depot Canada Contact to get recommendations tailored to your travel schedule and budget.
Q1. How many manikins do I really need for a mobile course?
For small groups, one rescue manikin and one or two compact CPR manikins can be enough. Larger groups may need more CPR manikins so everyone gets hands-on time, but you can often keep a single rescue manikin for demonstrations and scenario work.
Q2. Can I use the same rescue manikin for water and land-based training?
Some rescue manikins are designed for both water and land, while others are meant only for dry environments. Always check manufacturer instructions. Using a manikin in water when it is not designed for it can damage the equipment and void warranties.
Q3. How does remote or outdoor training fit with CPR guidelines?
CPR guidelines from organizations like the American Heart Association focus on high-quality compressions and ventilations. These skills can be practised indoors or outdoors as long as learners have a firm surface and suitable manikins. Remote training simply adds the challenge of logistics, weather, and distance from medical help.
Q4. How can I keep equipment clean in the field?
Use disinfectant wipes that are safe for manikin materials, have learners use hand sanitizer before and after practice, and separate clean and used barrier devices. Once you are back at your home base, you can do a more thorough clean following the manufacturer’s guidelines.
Q5. Where can I find reliable CPR information to support my training?
The American Heart Association offers detailed CPR information, resources, and guideline updates at https://cpr.heart.org/en/, which you can use alongside Canadian training standards to shape your course content.