Search
Generic filters

5 Smart CPR Manikin Features for 2025

You want to compare cpr manikins canada, understand what “smart” feedback does, and choose the right mix for your classes. This guide gives you a clear buying checklist, class ratios, setup steps, and cleaning tips—so you can make an informed decision today.

Who this guide helps

  • Instructors who need objective metrics during testing. 
  • Training centres that want durable torsos with parts in stock. 
  • Safety officers building an in-house program for staff. 
  • Schools and community groups running skills-focused sessions. 

Goal: help you pick manikins that raise learner confidence and keep your classes on schedule.

What “smart” means in 2025

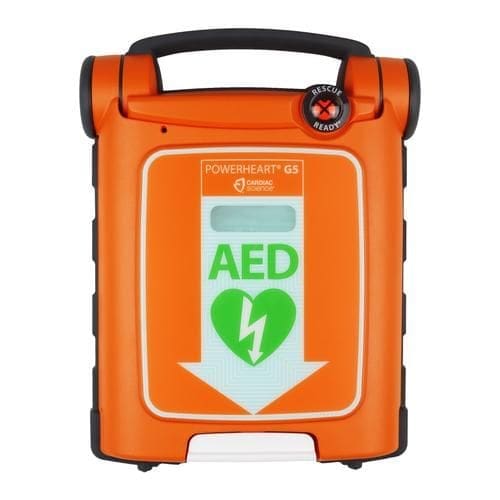
“Smart” manikins capture compression depth, rate, recoil, and sometimes ventilation volume. Feedback appears on LEDs, a chest indicator, or a paired app.

What this changes:

  • Learners see errors right away.cpr manikins canada 


  • You coach faster with less manual checking. 
  • Testing becomes consistent between instructors. 

Core feedback signals that matter

  • Depth: target adult compressions around 5–6 cm. 
  • Rate: aim for ~100–120 per minute. 
  • Full recoil: no leaning between compressions. 
  • Ventilation indication: chest rise or volume cue when breaths are part of your course. 

Simple indicators are fine for practice. App-based dashboards shine during assessments or large classes.

Why feedback speeds up confidence and pass rates

With real-time feedback:

  • Learners self-correct without waiting for verbal cues. 
  • You maintain a steady class pace. 
  • Objective scores reduce retests and nerves. 

In short, feedback helps learners “feel” correct depth and rhythm, which sticks longer after certification.

Buying checklist for Canadian programs

Use this list before you add items to cart.

Must-haves

  • Readable feedback: LEDs or clear chest indicators visible from the side. 
  • Sturdy build: torsos that handle frequent use and travel. 
  • Easy consumables: swap lungs or valves in seconds. 
  • Parts in Canada: faces, lungs, springs, and electronics available through local supply. 
  • Adult/child/infant options: if your course covers all ages. 

Nice-to-haves

  • App metrics for testing: exportable scores for records. 
  • Stackable storage: saves van space. 
  • Rolling bag kits: reduce strain between sites. 
  • Mat or wipe-clean surface: speeds turnover between learners. 

Durability and parts availability

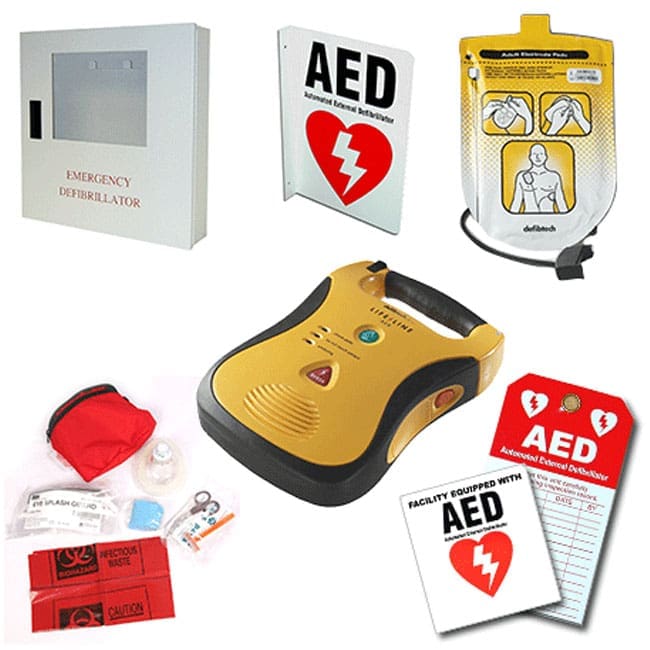
Check that faces resist makeup and sunscreen transfer. Confirm you can get replacement lungs, faces, and springs from a Canadian supplier so you’re not waiting on overseas shipping.

Feedback styles: LEDs, clicks, apps

  • LEDs: fast to read across a room. 
  • Audible clicks: simple depth guidance for beginners. 
  • App dashboards: show detailed graphs for assessments. 

Many programs mix styles: LEDs for practice mats and one app-connected unit for testing.

Hygiene systems and swap-outs

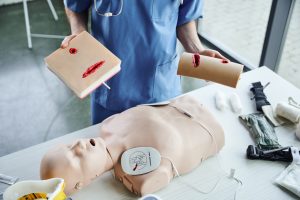
Look for one-way valves or disposable lungs. Face-skin parts that remove for washing keep cleaning fast. Keep a bin of labelled consumables with each kit.

How many manikins do you need?

cpr manikins canada

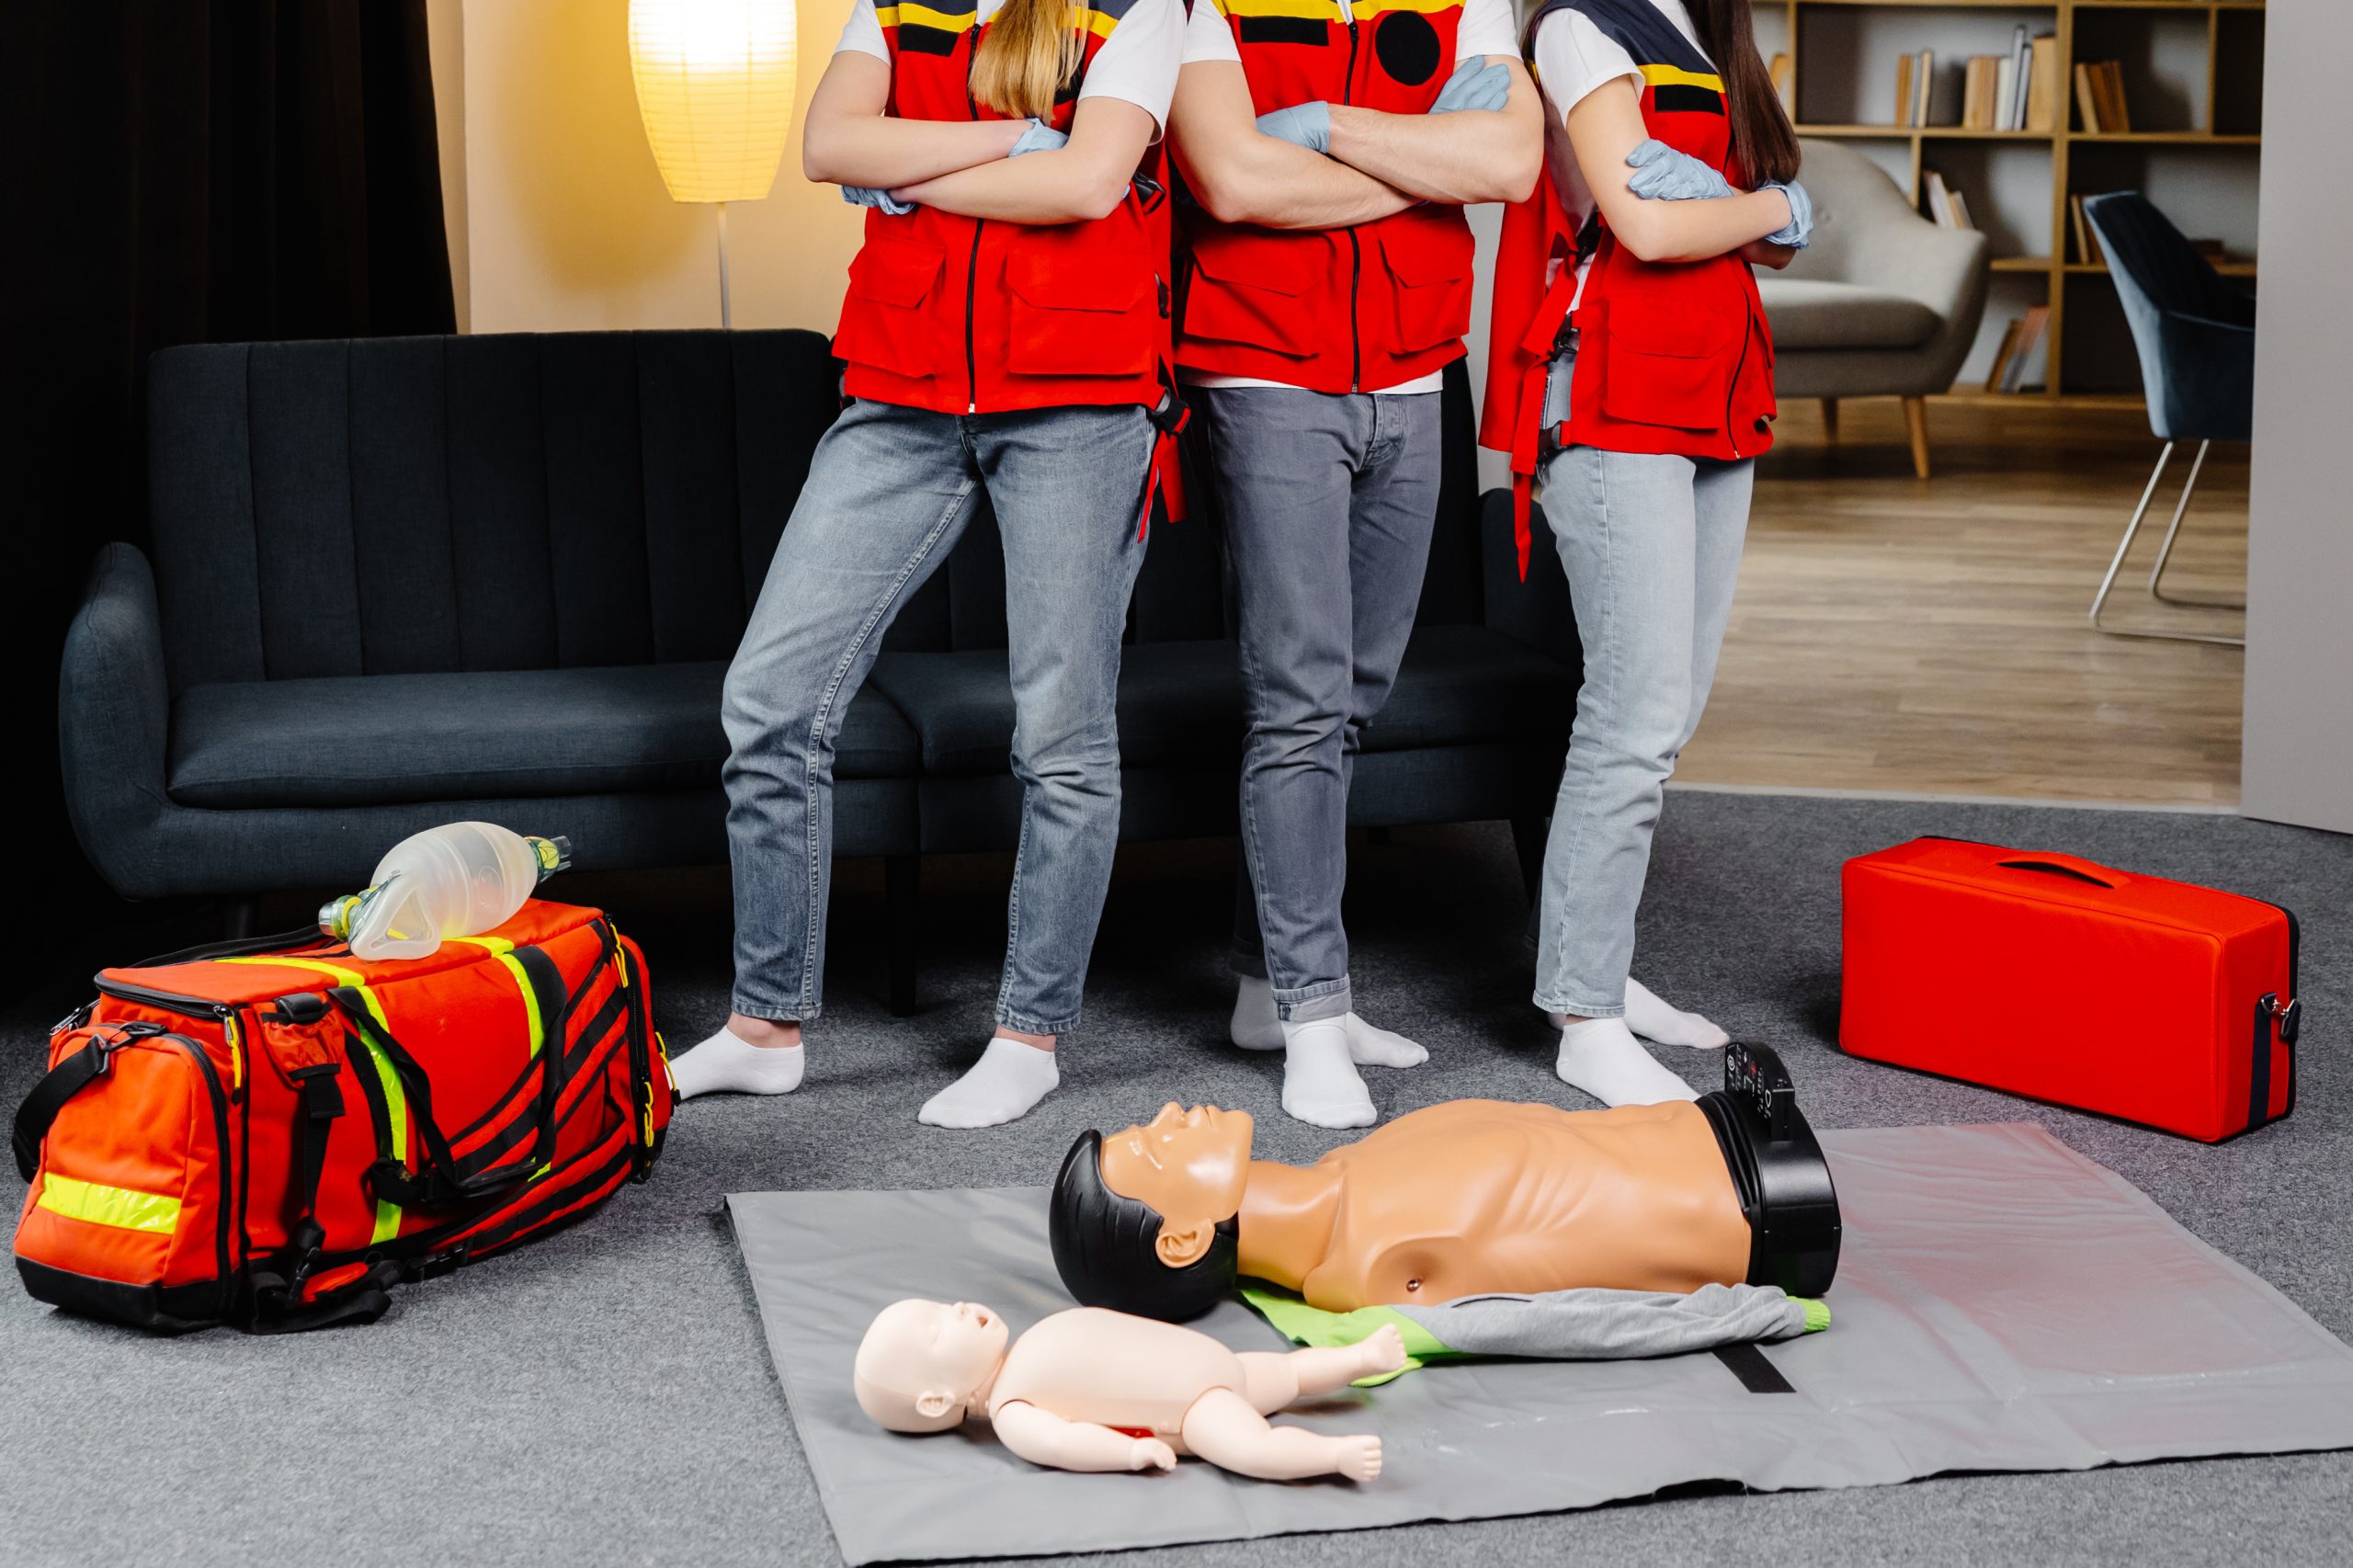
Right-sizing your fleet keeps classes moving.

  • Skills practice: plan 1 manikin per 2 learners. 
  • Testing or tight timelines: consider 1:1. 
  • Age mix: adults for most sessions, child and infant when your curriculum requires them. 
  • Portable sets: for mobile instructors, a 4–10 torso set plus two infant units covers a wide range of classes. 

Tip: keep one spare adult torso built and ready. It saves a class when a spring snaps mid-day.

Quick setup for smooth classes

Small habits reduce stress:

  • Pre-class check: charge batteries, update any app, and test LEDs. 
  • Consumables station: lungs, wipes, gloves, and spare faces in one bin. 
  • Mark zones: tape lines for compression stations to avoid crowding. 
  • Timing cards: rotate pairs every 2–3 minutes to keep energy high. 

For large rooms, place one smart feedback unit at the front for demos and scoring, with basic torsos for practice rows.

Cleaning and compliance, made simple

Consistent hygiene keeps everyone comfortable.

Between learners

  • Wipe faces and chests with an approved disinfectant. 
  • Swap lungs or one-way valves as per your policy. 

End of session

  • Wash removable faces, dry fully, and reassemble. 
  • Log what you cleaned and replaced for audit trails. 
  • Store in a cool, dry space away from UV. 

For background on how CPR methods evolved and why quality matters, see Heart & Stroke’s history piece: The amazing story of CPR.

CPR Pocket Mask: small add-on, big confidence

Even if your bystander modules focus on hands-only for adult sudden collapse, a cpr pocket mask still helps when ventilations are part of the scenario—infants, children, drowning, or when your training requires breaths.

What to carry:

  • Pocket mask with one-way valve and hard case. 
  • Nitrile gloves and a small wipe pack. 
  • Simple instruction card for quick refreshers. 

Learners feel safer giving breaths during drills when a barrier device is on hand.

Budgeting and ROI for 2025

Plan for upfront gear and steady consumables.

  • Basic torsos: cost-effective, durable, ideal for large classes. 
  • Smart units: higher cost but reduce retests and speed up assessments. 
  • Consumables: lungs, valves, wipes—buy in bulk. 
  • Transport: cases and carts protect your investment. 

Stretch your budget by mixing basic torsos with one or two smart units for testing. Upgrade over time as class volume grows.

Where to buy in Canada + fast help

You want in-stock gear, clear product sheets, and parts you can get quickly. Start with a call or message, share your class size and course list, and ask for a bundle that fits.

Disclaimer

This guide is general information for Canadian training contexts. Always follow your certifying body and employer policies, and the instructions that ship with your equipment.

FAQs

Are smart manikins required for certification?
Requirements vary by program. Many centres use at least one feedback unit to standardize testing and coaching.

Do I need separate manikins for infants and children?
Yes. Scaled anatomy and chest resistance build correct muscle memory for each age group.

How often should I replace lungs or valves?
Follow your training policy. Many programs swap between learners or sessions and log replacements.

Can I mix basic torsos and smart units?
Absolutely. Use basic torsos for practice rows and one smart unit for demonstrations and scoring.

What about cleaning between back-to-back classes?
Set up a cleaning station, rotate spare faces, and keep a labelled bin of lungs and wipes to speed changeovers.


Facebook
Pinterest
Twitter
LinkedIn